PROTOTYPING – 02
PROCESS
On our 08 event the womenswear outfit is physically starting to take it’s shape. Lucia made a symmetrical draping on the mannequin with yarn for the LED placement previous to the workshop. Miia photocopied LED strips and they were placed around the mannequin in the LED assigned areas to evaluate the amount of LEDs we will be using. It contains roughly 731 LEDs in 18 channels. The A second toile was made following the new design and was fitted on our teen model Elizabeth on the day. A few minor adjustments will have to be made but it fits and holds it’s tightness.
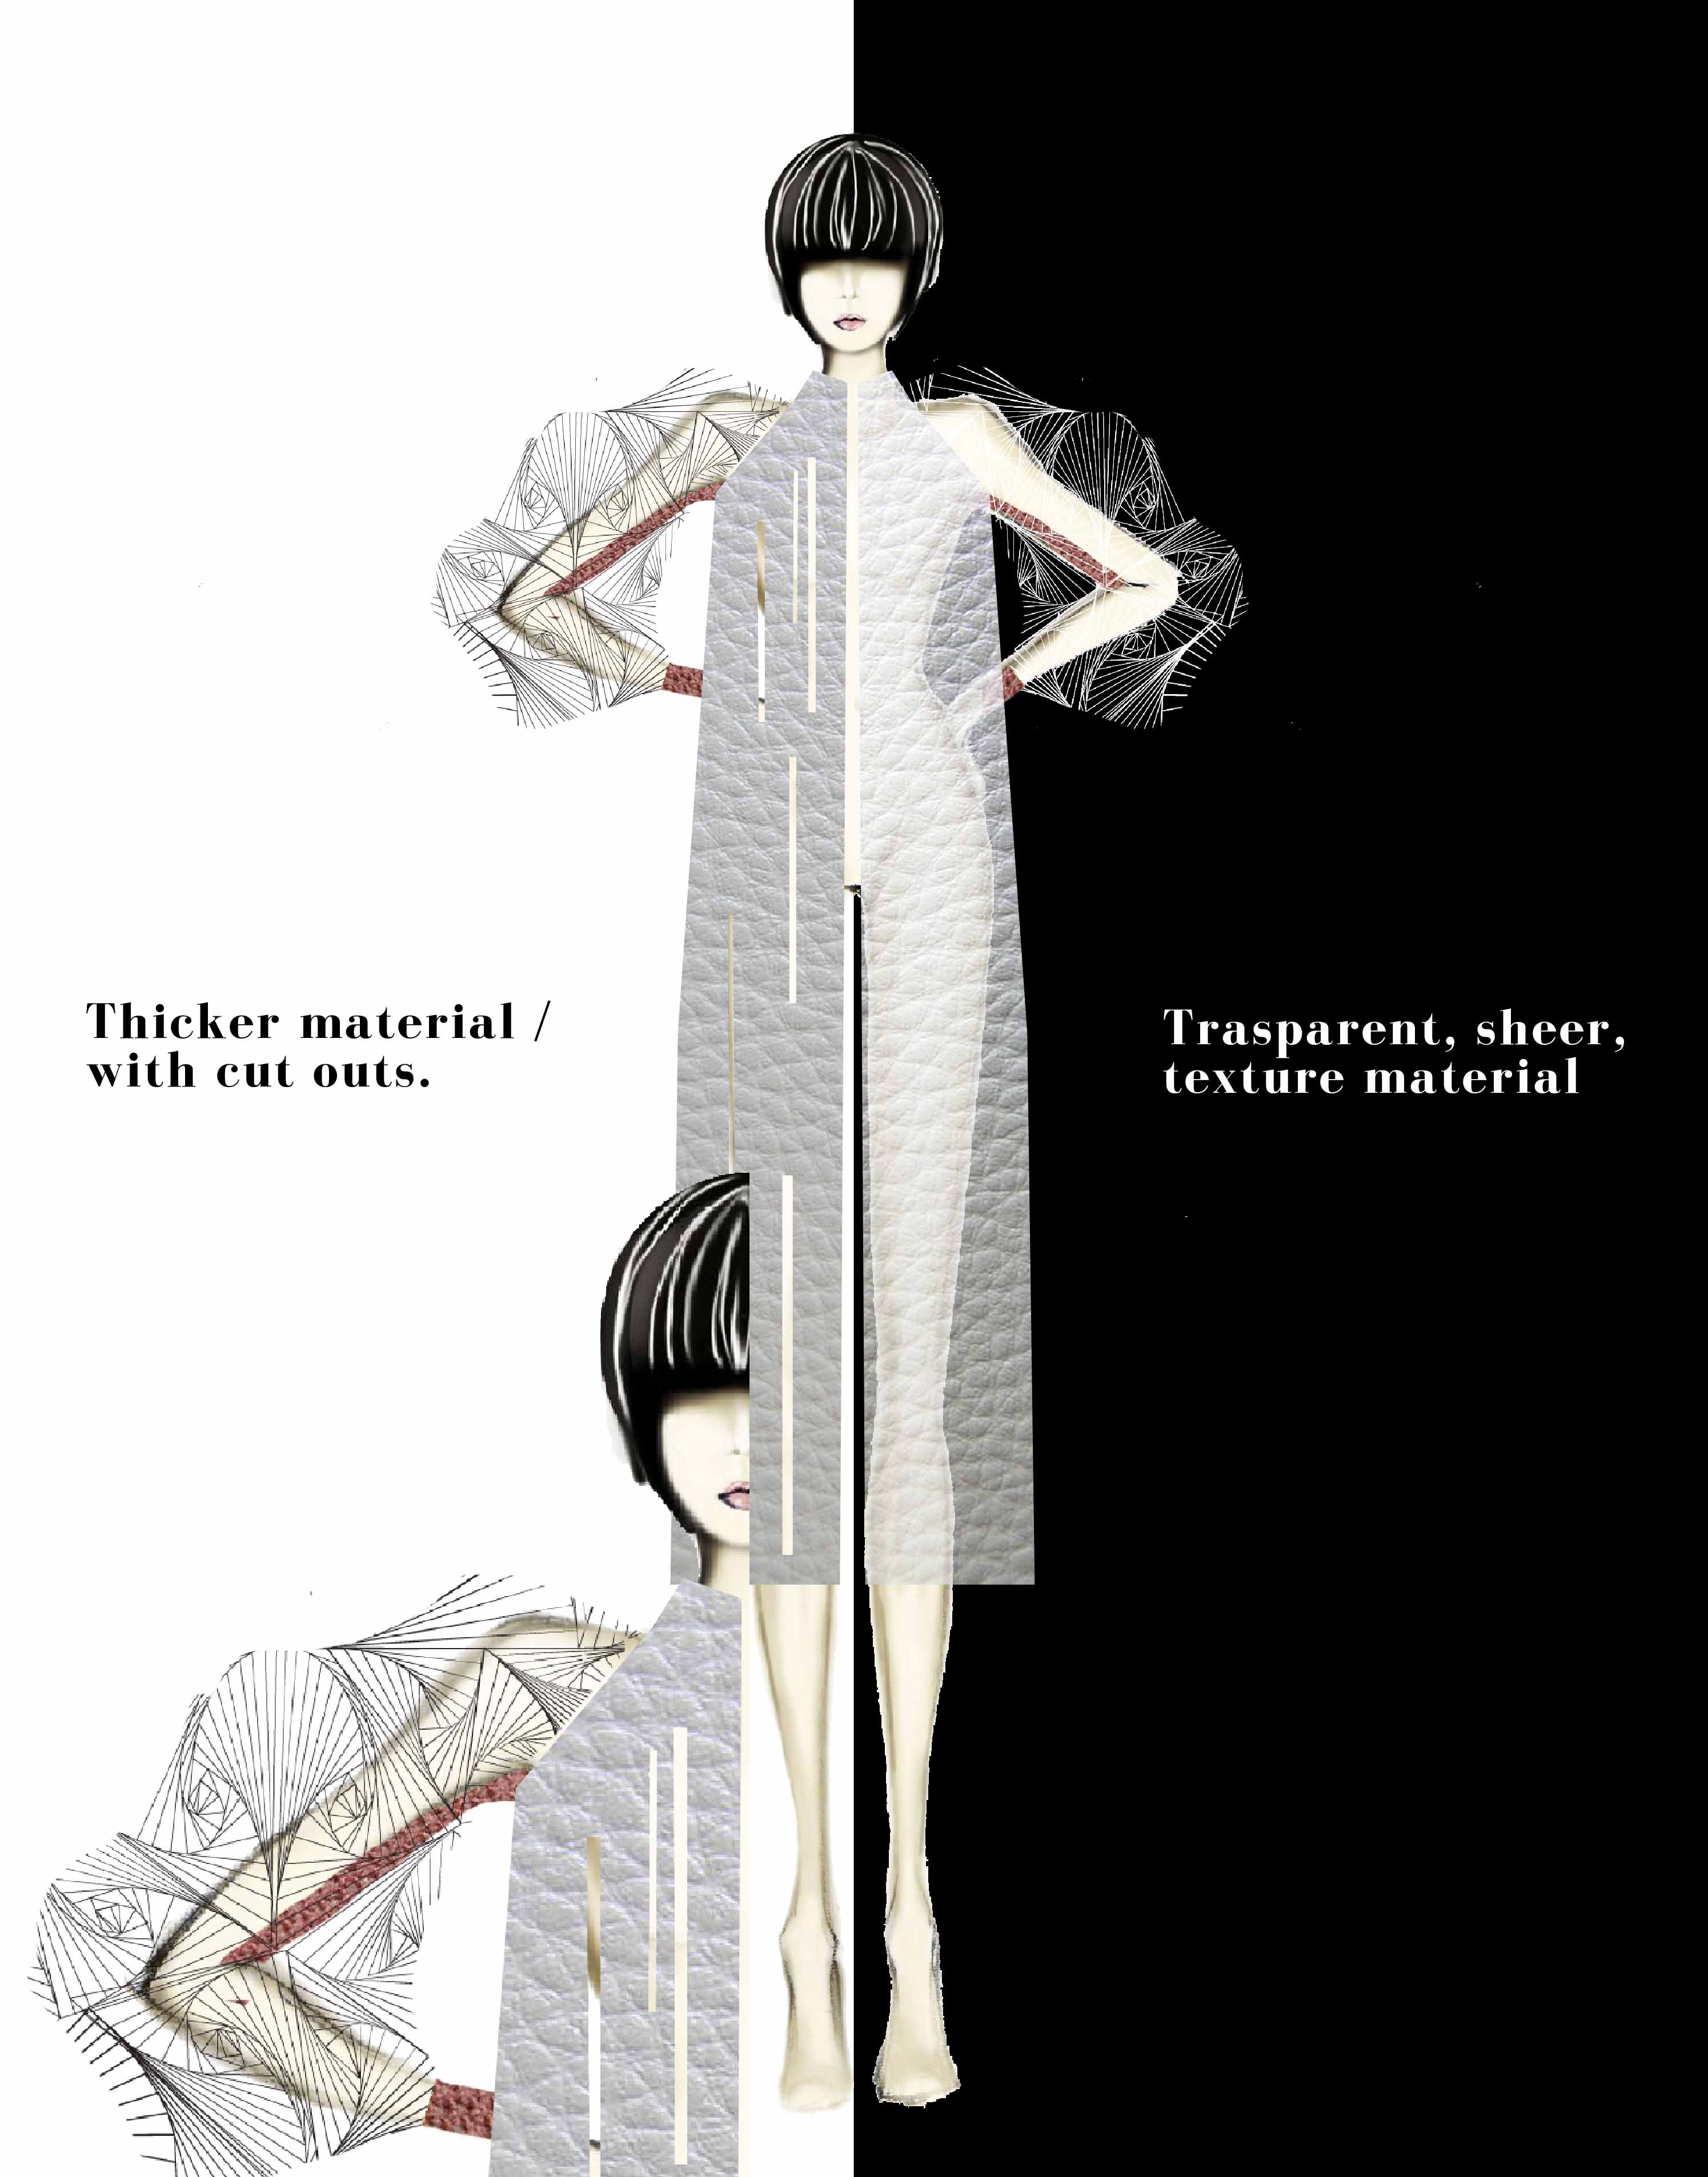
We can now purchase the neoprene fabric we will be using to construct the final women’s wear garment. Prior we had to make a decision on the colour story. As the LED’s will be the main colour display, we want to keep the fabric colours neutral but also have impact when the lights are off. White, black, light grey, nude and small amounts of burgundy are our chosen pallet. 

These colours have a fresh and young impression and will be carried through to the men’s wear outfit.
In the 07 workshop we had discussed the idea to include an external 3D printed piece as a form of a jacket or detachable. Mariel designed a Chinese origami inspired jacket .The jacket will have a combination of fabric and 3D printed pieces. The 3D printed elements will be mostly contained to the sleeves and made up of smaller parts. We found an experiment origami inspired to create 3D printed textiles by Meg Grant in 2012 http://www.meggrant.com/3d-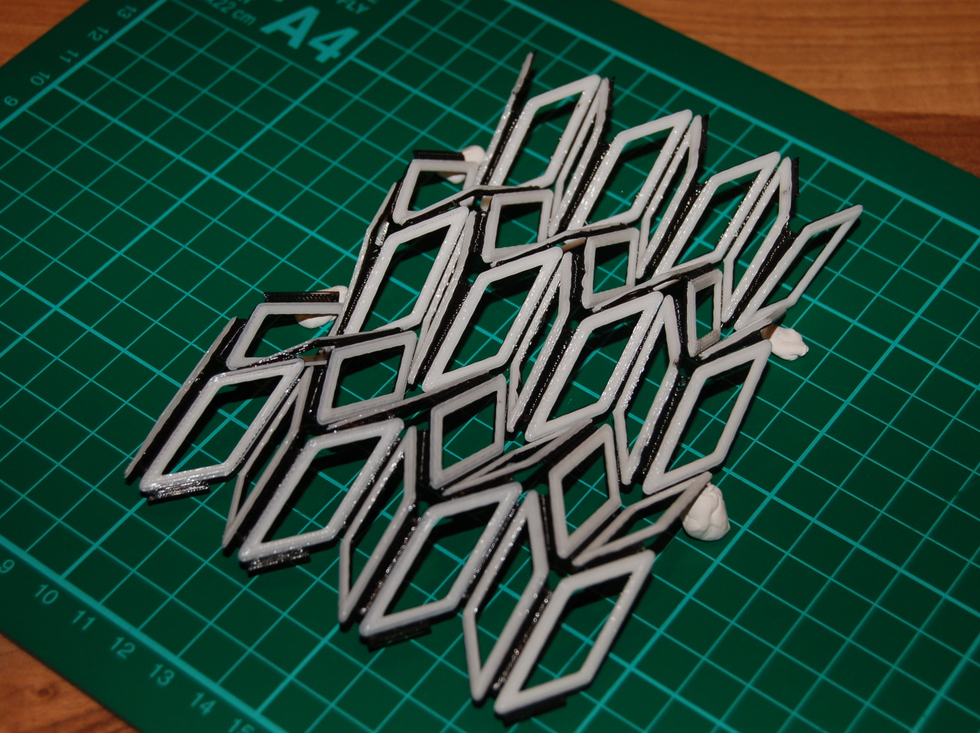
Ivor recreated the experiment.
“Instead of printing directly to material, I though it would be worth printing a similar pattern design but with flexible plastic (NinjaFlex) as the base material to act as the hinge.” (Ivor)
The pattern was first drawn up in three dimensions in Sketchup, ensuring the pattern shapes were raised higher than the base.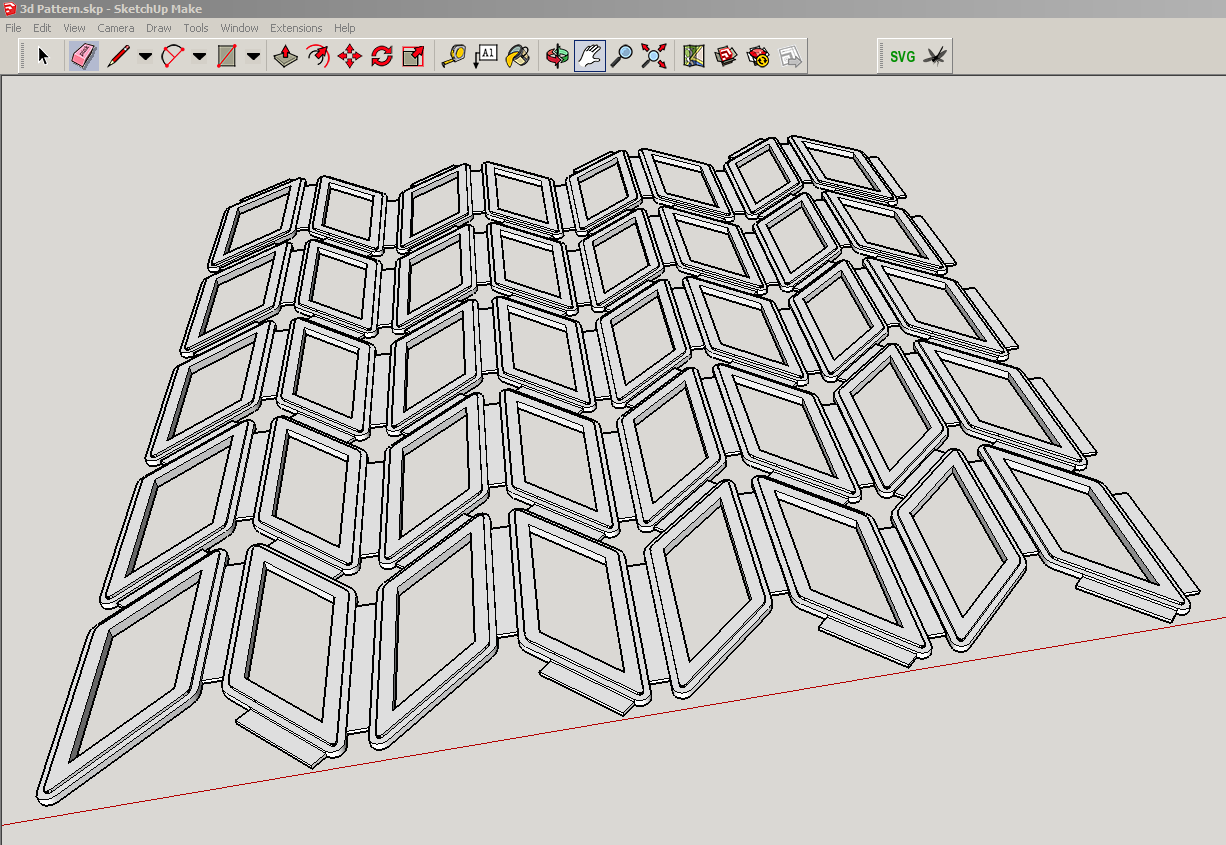 The design is exported from Sketchup as an STL file, and is imported and sliced in preparation for 3d Printing. In this process (visible below) you can estimate the of the length of flexible plastic (NinjaFlex) that is needed to form the first two layers of the print.
 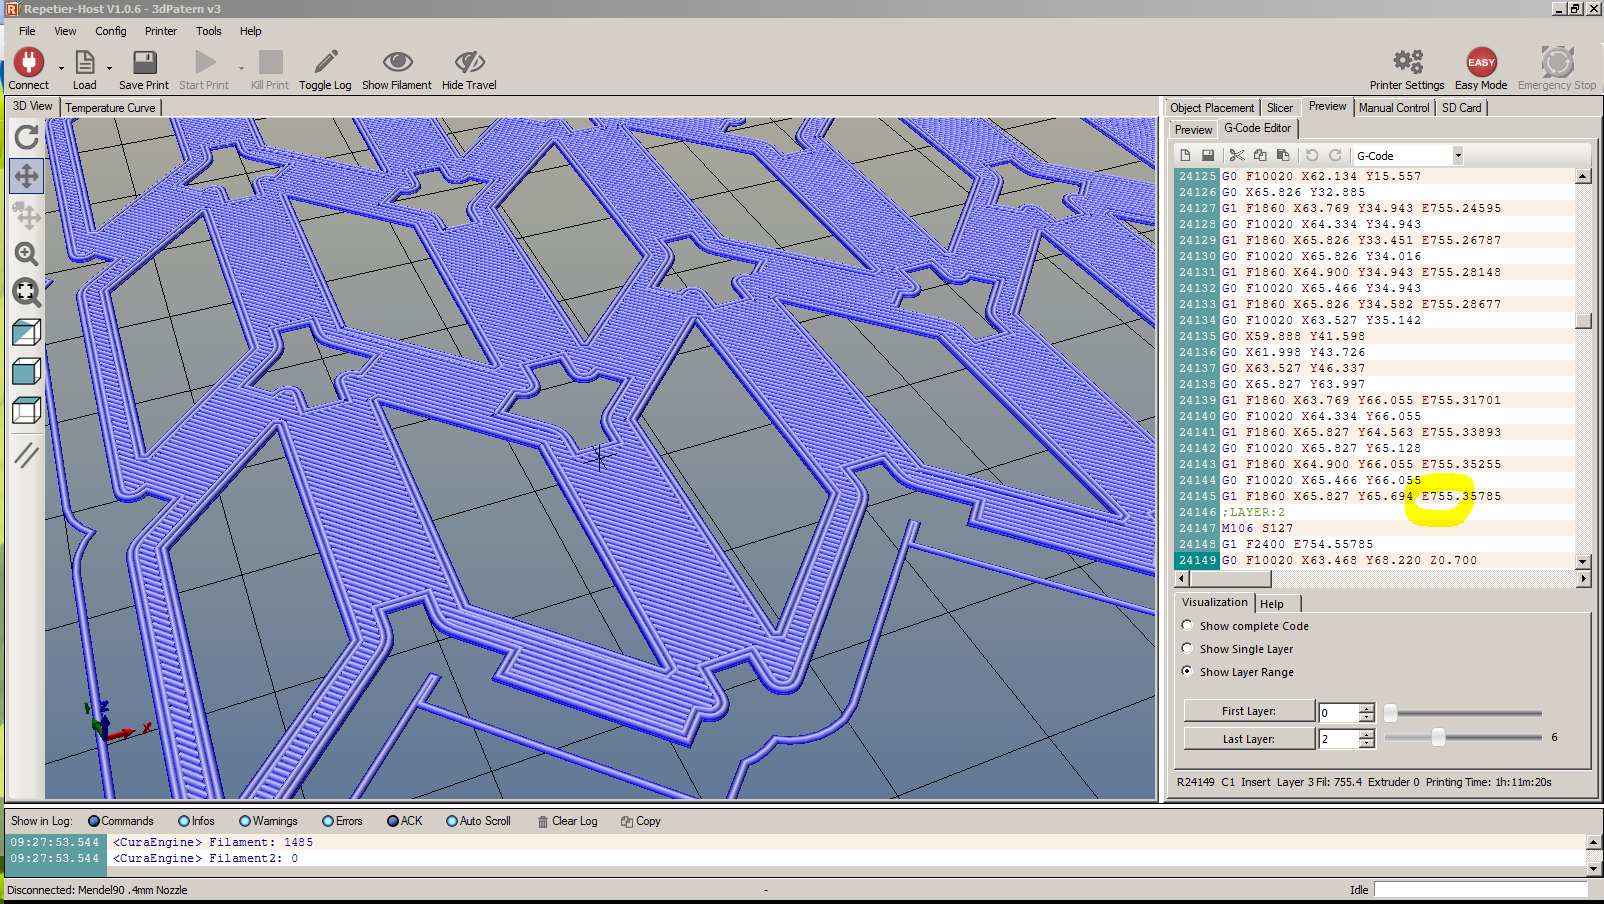 As the pattern is printing the flexible plastic (NinjaFlex) is changed for a harder plastic (PLA) after 755mm has been fed. This will have allowed two full layers of the object to be printed in the flexible plastic, and the remaining part of the pattern, the raised shapes are then completed in the harder plastic.
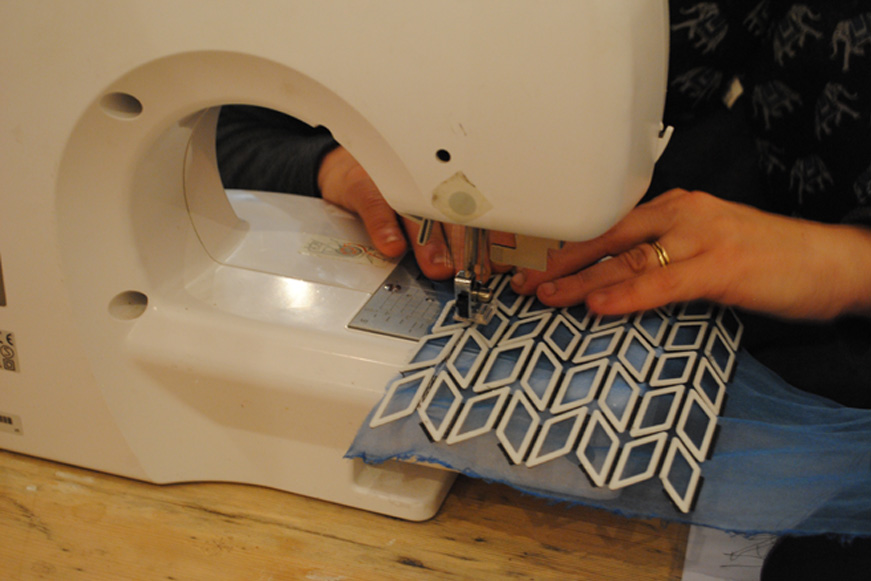
 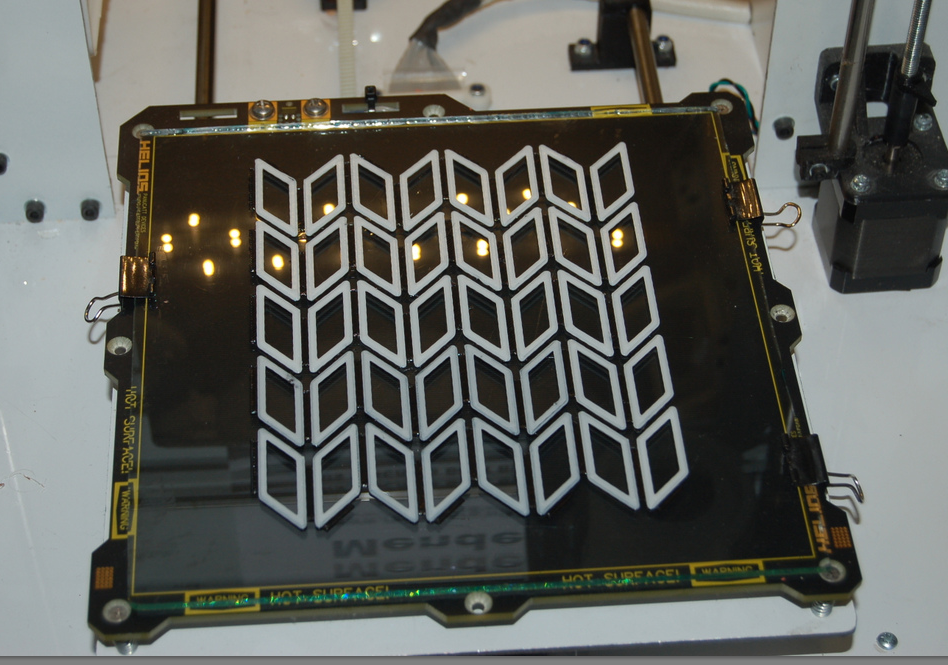 We used this modified sample and sowed it to organza but the fabric is creating to much pull and the folded shape is difficult to contain.
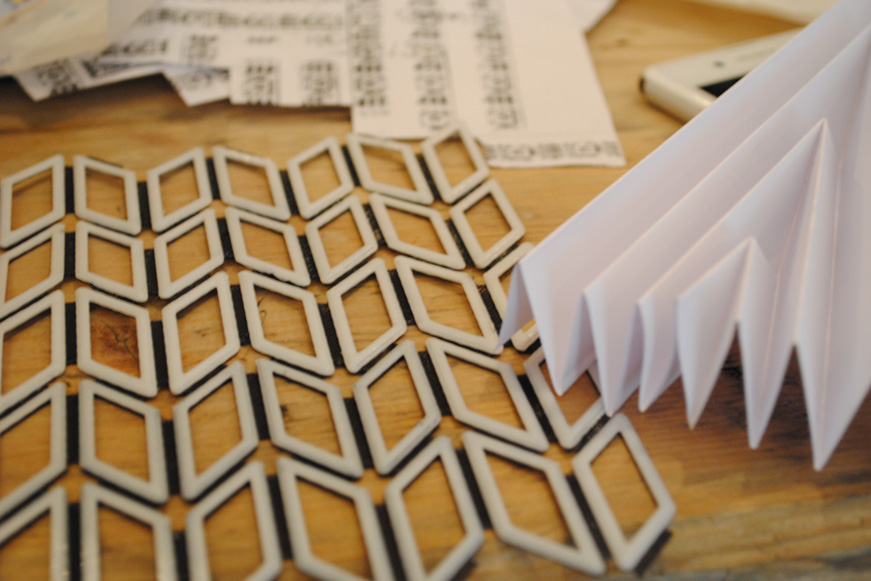
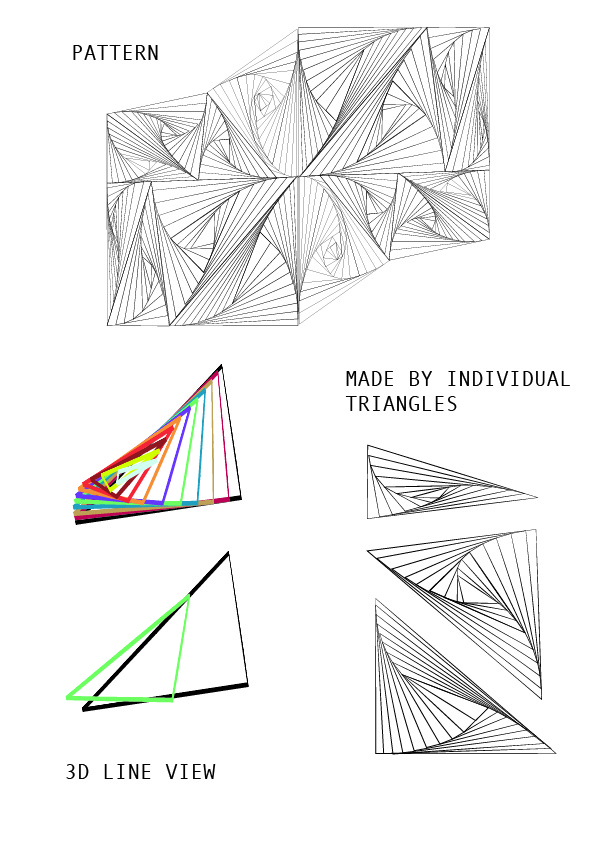
The Illustration Mariel created for the 3D printed sleeves is made up of triangular folds and resembles the method to use a flat print and be able to fold it to give it it’s 3rd dimension. Meg’s experiments showed us a process to try various visually interesting origami techniques to construct the jacket.
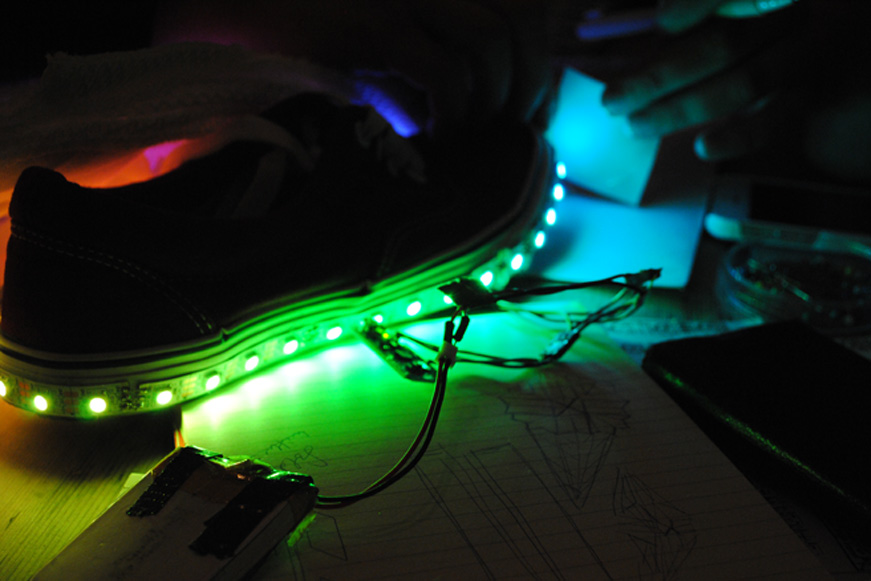
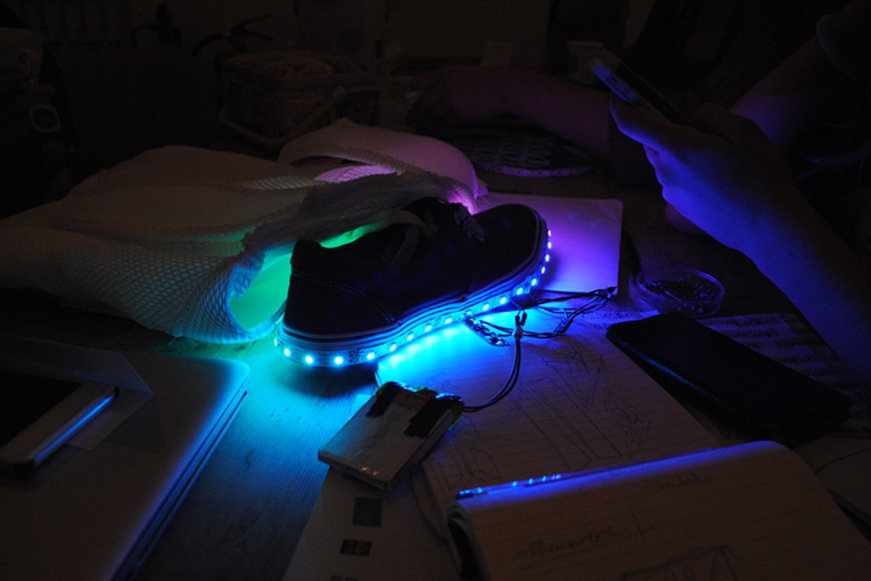
Dave had also made some LED shoes that we are thinking of using for the men’s wear outfit. The lights are very bright at the moment some modification to diffuse the light will have to be designed.
FINDINGS
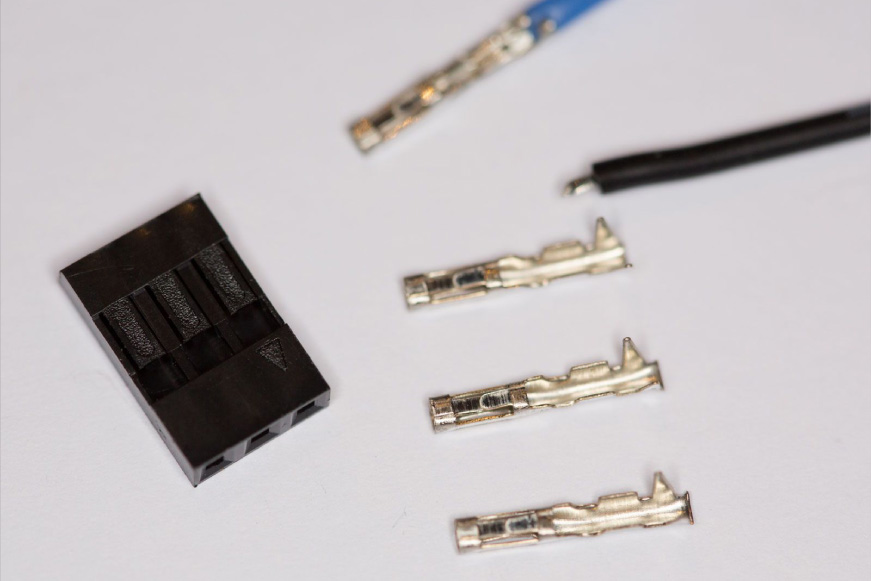
During this workshop, the engineering team were tasked with making up a few dozen of the cables designed in previous prototyping sessions. These cables will join the LED strips when placed in the garment, and are made of two 3-way connectors joined with highly flexible silicone coated wire.

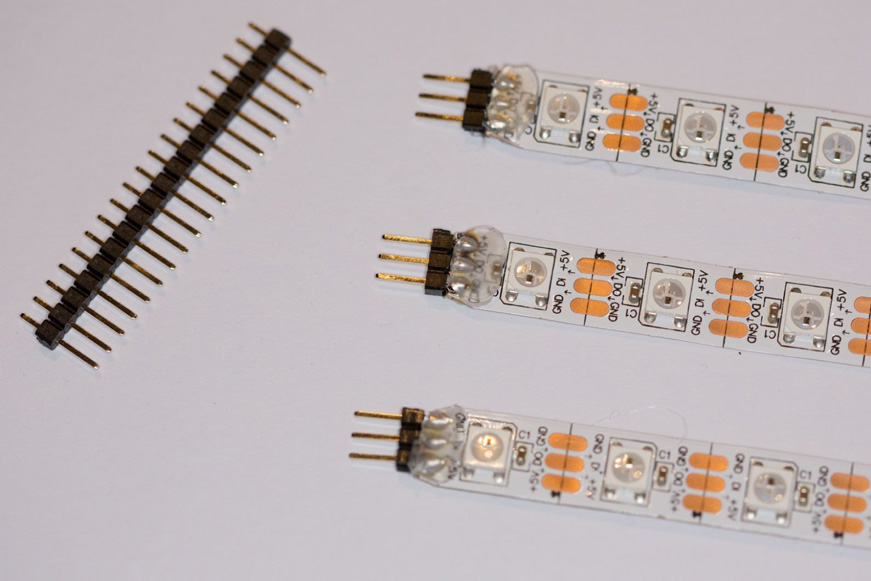 When we then connect with the cables, we end up with LED arrays as follows:
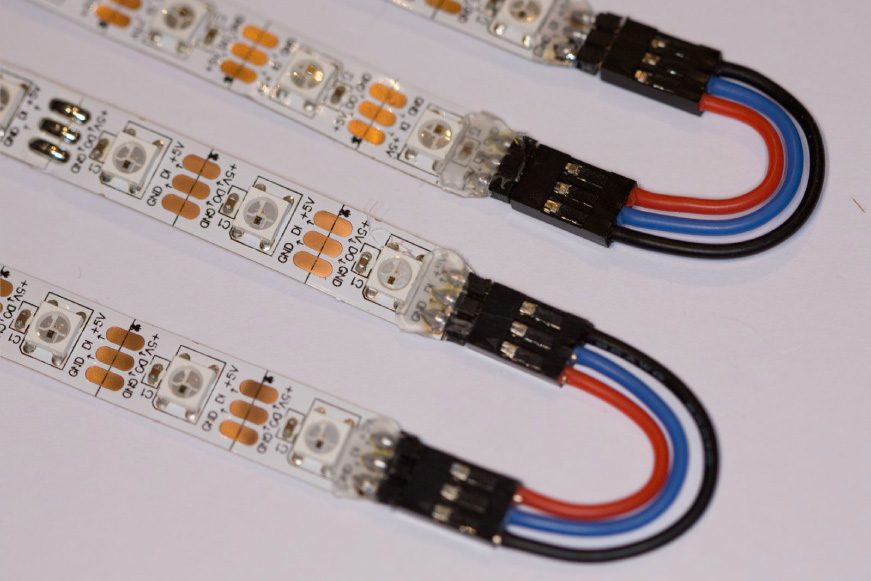
The arrays will zig-zag which reduces wiring, and allows minimum thickness for the whole array. All in all, the LED grid arrays are no thicker than 2.6mm. Because the LED strips are made from a
thin flexible PCB, they have a tendency to during use, so easy maintenance was a key design feature. Using this connector system allows a broken strip to be removed and replaced within
minutes, no soldering or sewing required.