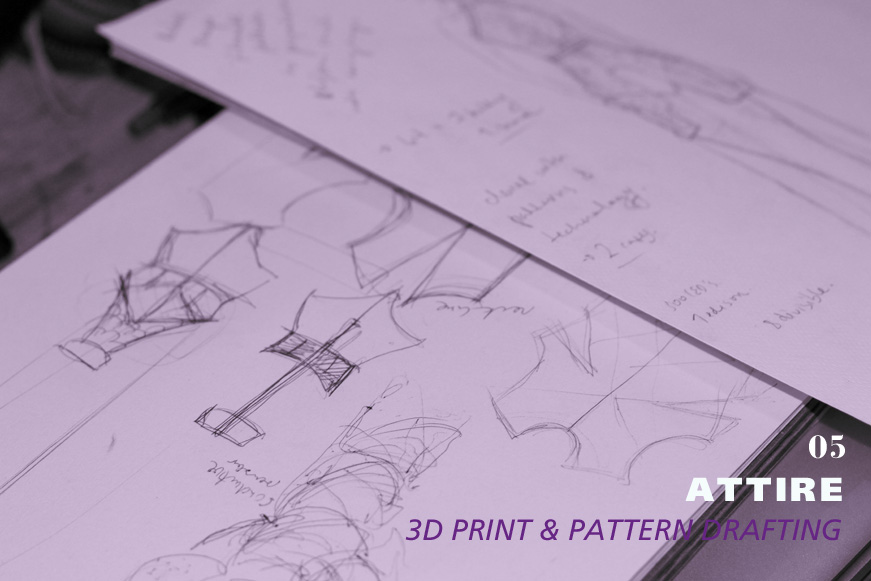
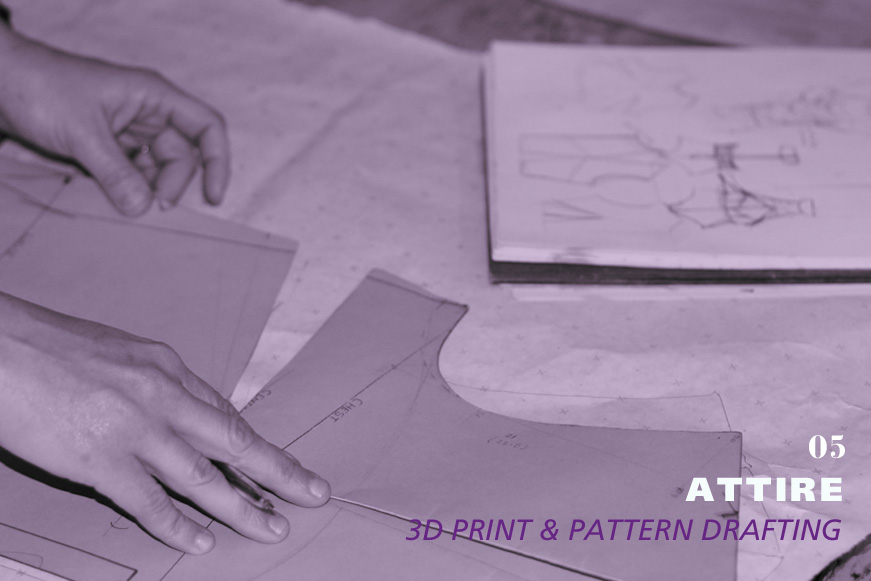
3D PRINT & PATTERN DRAFTING
Last week was very busy and exciting as we hosted two workshops. The couple of hours on Thursday flew by as we had loads of big decisions and calls to make. We worked out an idea of how the garment will function and now is the time to apply it.
ARRAY of LEDs

For the swatching and garment design workshops, we built an array of RGB led consisting of 64 LEDS laid out in a grid of 8 x 8. Each line of LEDS were approx. 20mm apart. This allowed us to place various various materials over the array while an animated pattern was being rendered to see the effect through different materials. The array was powered by a 2500mAh 3.7v Lithium Polymer battery, and driven by a FadeCandy board. The FadeCandy is designed specifically to drive large arrays of RGB LEDs, and renders the colours in a much more pleasing way than other micro controllers. For the workshops, we were driving the patterns using a laptop, using demo FadeCandy software but the plan is to replace the laptop with Intel Edisons (running custom software) for mounting into the garment, as they are far smaller, and very suitable for wearable projects.
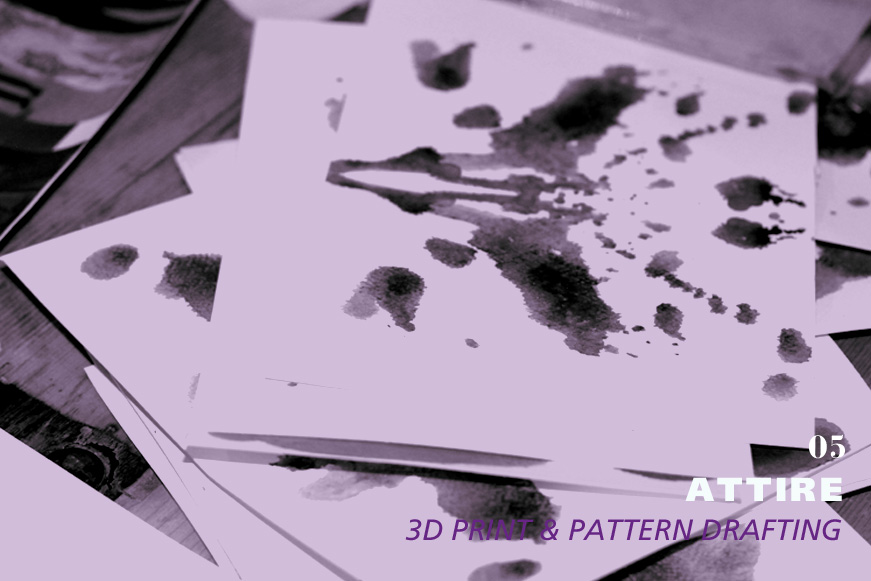
Dave showed us some very interesting examples of how to run images or patters through it. It would be a very effective and straightforward solution to accommodate the LED display. Mariel made a set of colorful rorschach images that she wanted to display on the garment and this prototype was a perfect example of how easily they could be projected on a garment.
3D PRINTED DIFFUSERS
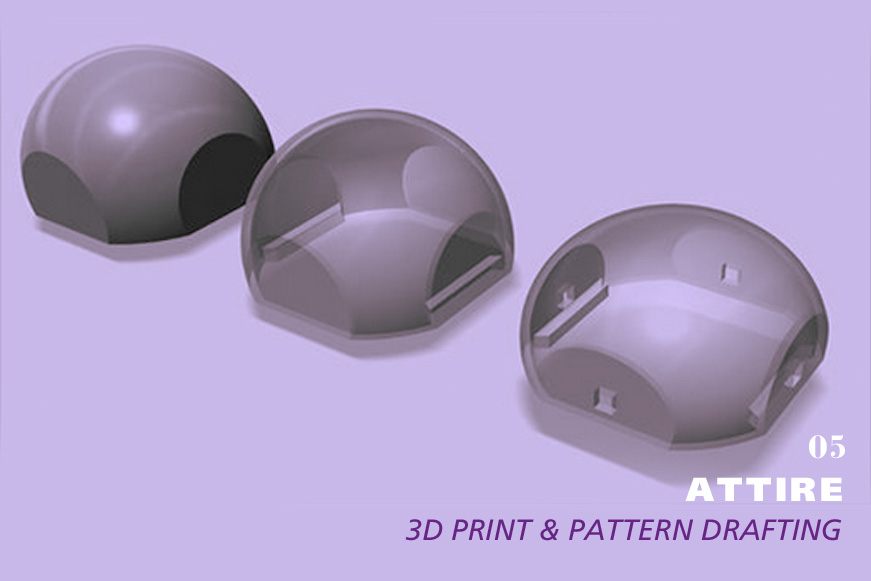
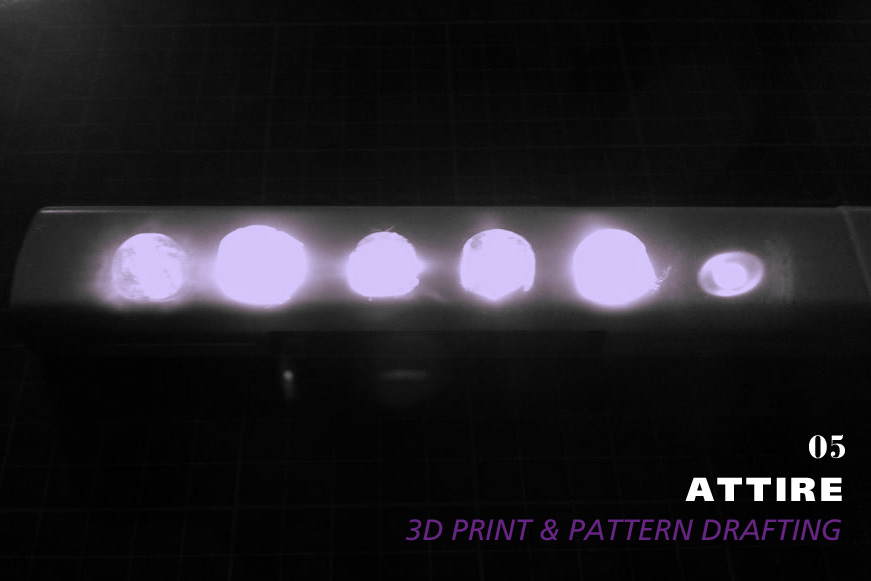
Previous week Ivor introduced us to the essentials of the 3D printing. He printed out number of various little hollow domes that diffuse the light from the LEDs. 123D Design was used to draw the shapes. http://www.123dapp.com/design
More box like shapes that could be used to protect electronics and batteries were also looked at and test printed. Shetchup can be used to draw such objects… www.sketchup.com
General 3d printing design repositories were also briefly looked at including http://www.youmagine.com www.thingiverse.com
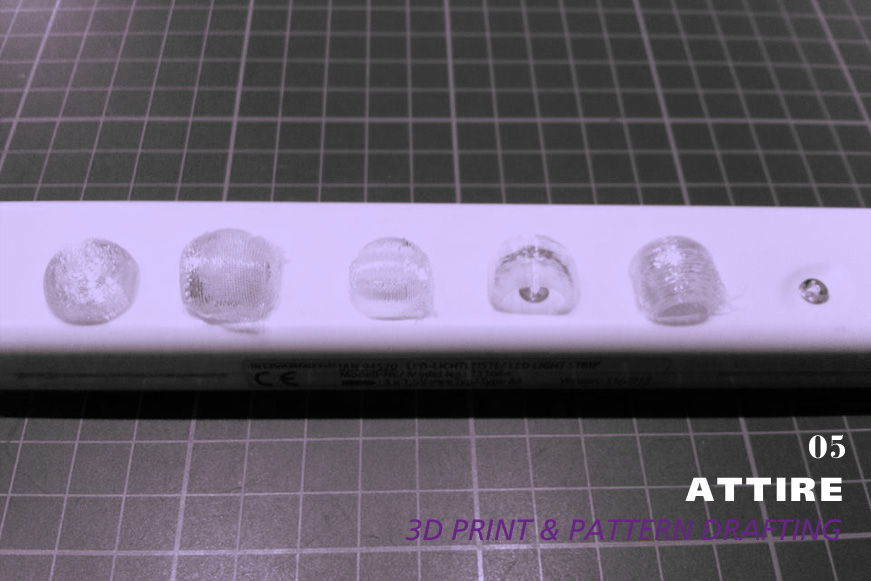
We also played with a neat free utility for converting jpeg images to 3d printable shapes http://3dp.rocks/lithophane/ which might be of value. We aim to incorporate custom made 3D printed light diffusers in various shapes and sizes. These diffusers could replace the traditional embellishment.
We tried out various textile materials and swatches made earlier as diffusers and got some very interesting results and effects. This exercise was decisive in picking out the materials and textile manipulation techniques that are effective and suitable for showing the LEDs the way we want. At the moment the biggest challenge for us is to make a garment that is clever and innovative due to the use of technology but at the same time trendy and desirable for teens on a fashion plate!
TEXTILE SWATCH
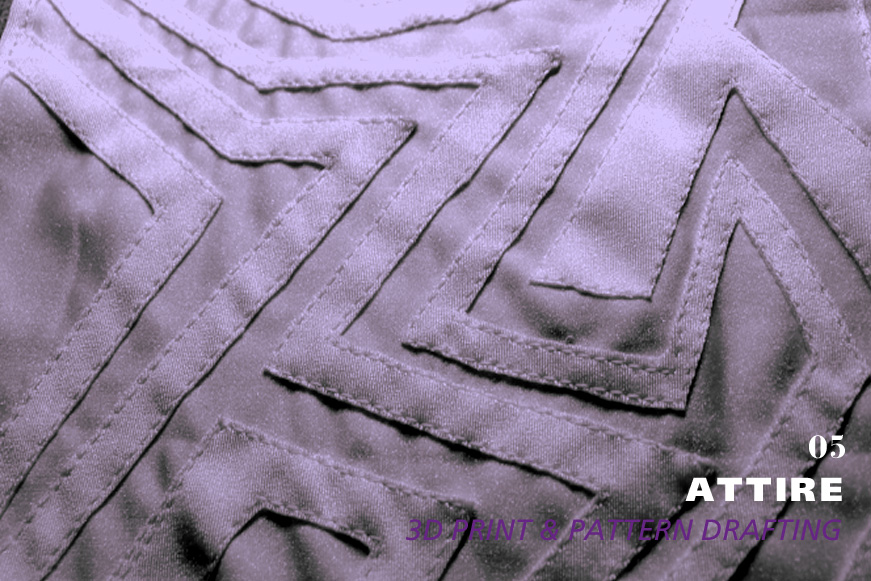

Lucia introduced her initial design of the garment. She created a textile swatch that incorporated the LED strips into the fabric in a clean and interesting manner. This way the garment will look complex and unique even if the lights are off. Her dress design was influenced by the direct electronic concept. The intensity of LED display changes depending on the distance between the two outfits (the closer the brighter) and animates by touch. Sensors will be placed on shoulders, waist & hips. The animation will work like a plasma bulb, once touched at the certain sensor the light will travel to that sensor in two hues of color from all around the dress. Each sensor changes the route how lights travel and uses different hues. After the ‘lighting’ animation the dress will light randomly – with hues of two colors animation assigned to the sensor that was touched last, until touched again.
To make this work we need to figure the electronics that enable outfits to react only to each other and to measure the distance between them.
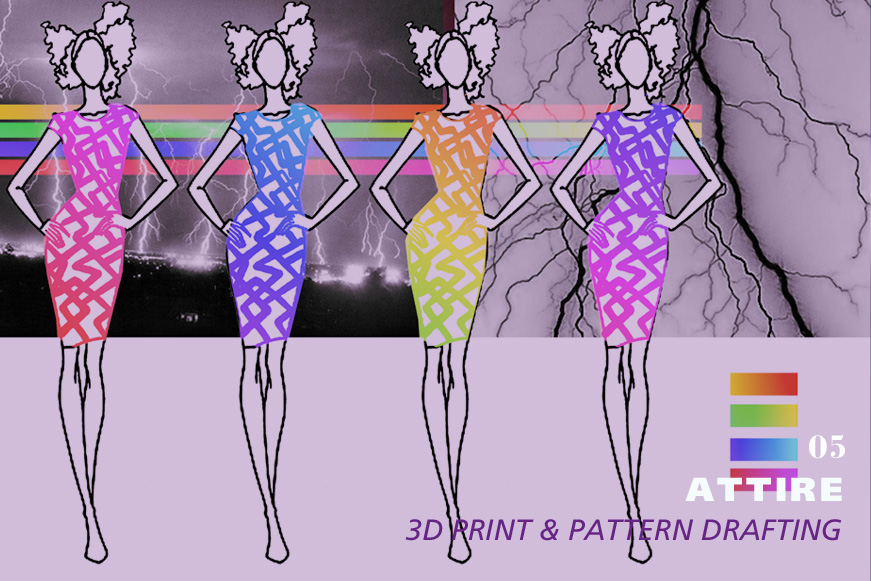
At the moment the routes of LED strip on the dress are in a random criss – cross, zig – zag pattern. This is a very specific way of display that is visually pleasing but the number of animations that could be displayed is limited as they only can be displayed in a single strips. The textile solution of attaching the LEDs to fabric is very interesting and it is something that we are going to use however we need to revisit the placement of LEDs on the dress. To show various animations the LED would have to be placed in a square grid. This is a obvious use of LEDs as a screen of sort and it is different to the final effect we want to achieve. The current placement is not very feasible because the LEDs are incorporated in a labor intensive rather than effective manner. We have to come up with a compromise solution that accommodates the function and elevates the design.
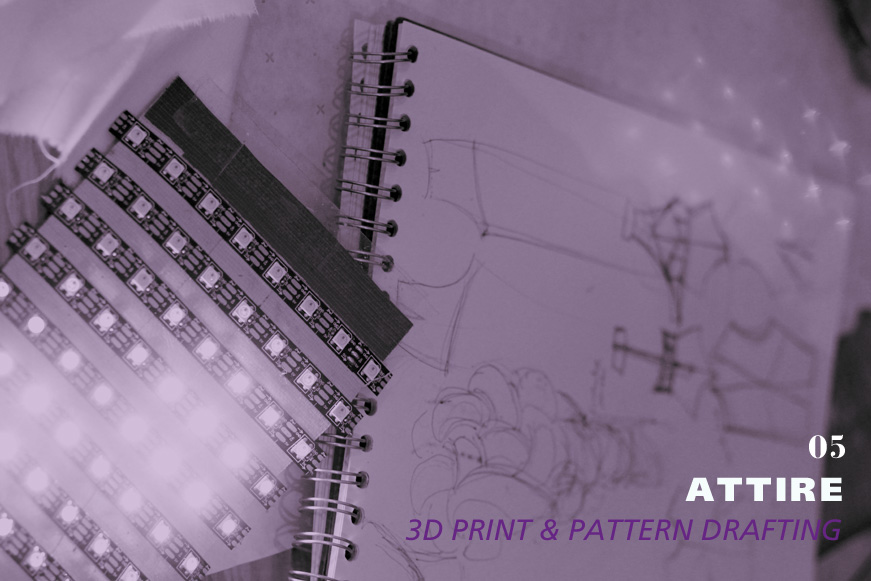
After a short discussion we decided to create a short jumpsuit and Miia started pattern drafting.

For the next session we still have to finalize the menswear part of the outfit and re-evaluate and redesign the dress. We discussed the idea of designing an oversize transparent multi- textured jacked – to go over the dress. This solution would maximize the textile part of the workshop and it would serve as an additional light diffuser that can bring our outfit to the next level.