EVENT 07

PROTOTYPING – 01

web

We are now right in the swing of solving the women’s wear garment. During our 07 event on Saturday we re-created a section of the RGB array of LED’s swatch and incorporated it into the textile swatch. This was a key step as we had to see how we would manoeuvre the wiring to not disturb the tight fit of the dress. Simultaneously, we were working with the toile to assign the LED placement within our garments. We are also dabbling with the idea to include some geometric 3D printed pieces in form of a detachable or as an extra element to the garment such as a jacket to give it an extra wow factor as it is an exhibition piece.

PROCESS

Earlier in the week the textile swatch was refined using black neoprene fabric, with an additional laser cut perforated texture to the textile tubing carrying the LEDs. With the new textile swatch Dave adequately showed us the exact requirements for wire connections and how they can be manoeuvred for different lengths. The women’s wear toile was also ready made with clever asymmetrical seems to hold the panels and assure it’s tight a fit. Mia drafted the pattern and Marie put the toil together. With this visual we were able to begin figuring out and assigning the LED placement. Whilst looking at the dress in it’s real proportions Rhona and Mariel thought of adding 3D printed inspired origami triangle shapes mimicking the geometry of the dress. This will be cleverly designed as another way for the light to travel.

FINDINGS

We had an informal meeting the previous Thursday to discuss the best method of wiring which would create less bulk and less likelihood of breakage. The conductive thread’s behaviour is difficult to contain, master and it is the most likely to break, it also doesn’t carry enough power needed. The silicone cover wire is for now the best solution, it doesn’t create much bulk and its performance is a lot more manageable.

 The new textile swatch proved to be very successful in its design to contain the LED’s and assist an easy fix if needed, flexibility for different lengths of LED strips, room for wiring to be applied and it is visually appealing. The perforated pattern broke the single LED light into 3 smaller lights giving the illusion of having many more LEDs placed. We will continue to experiment with various textures to manipulate the light as it was proven to be a successful technique through out our workshops. The placement of the LED’s presented to be an issue as the individual areas of the toile were to large and some of the shapes were not suitable to include the LEDs grid for efficient programming. We need to be clever with the seems as the more seems the looser the fabric. We worked with the asymmetrical assigned areas within toile and broke it down into smaller parts by adjusting the textile rather than adding more seems . Although some of the areas were not adding up so we will have to revisit the pattern and the toile’s construction. Our best solution is to go back to the drawing board and decide the LED placement first keeping in mind the swatch and its integrity.

EVENT 06

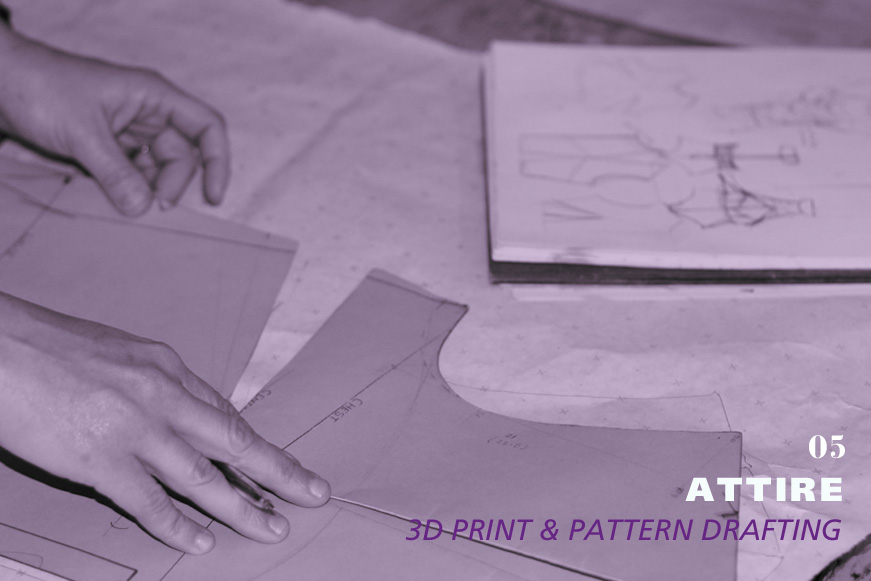
3D PRINTING & PATTERN DRAFTING / 2

Web-05-06

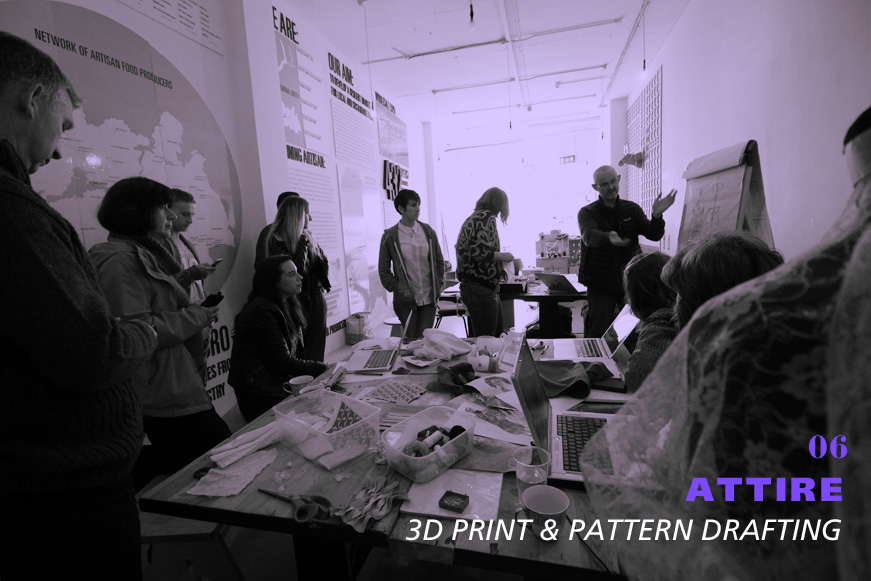
Saturday workshop was very straight to the point as we were looking for the possible solutions for the issues addressed on Thursday.  The individual issues and proposed solutions are further described under electronics issues and fashion issues.

Electronics Research Summary from Workshop 05

The electronics group were tasked with two main research areas for this workshop:

  • Detecting touch from a specific source
  • Accurately detecting distance between the two garments
event 06 PHOTOS3
event 06 PHOTOS
Touch:

It’s relatively easy to detect a touch to our garment – It is more of a challenge to detect a touch from a specific source. All touches to our garment register the same way – This is not a bad thing. It keeps our battery life down, sensor profile slim and complexity low… But it means the information coming from these touch panels is simplistic, on or off. This is not good enough to be able to distinguish between a touch to our garment from an observer and the fellow performer. So what’s the solution?

Our two proposed touch solutions rely on the same basic principal, confirmation. The two garments will communicate with each other about who has been touched and who is touching. A garment which has been touched, will listen to see if the other garment says that is is currently touching something. If this is true, we can assume with relative certainty that the garments are touching and we can ask the touched garment to react accordingly.

Solution one involves a button concealed in a cufflink or other wired button which when pressed, will put the garment into “touching mode” for 5 seconds or so. If during this time the second garment is touched, it will react. This solution while easy to implement has the limitation of needing to be wired – which means it is harder to conceal – and it interrupts the natural movement of the pair while pressing the button.

Solution two is mostly the same as the first, except that it will be wireless and thus much easier to conceal in an accessory or piece of hand worn jewellery, such as a ring. The button may also be replaced by a touch sensor similar to the touch pads on the garment itself, making the touch gesture more natural. Finding a stable (and small!) method of wireless communication is the challenge with this method.

Distance:

The problem of distance measurement between two specific objects (without the need to point a sensor of some kind) within an enclosed environment is one without an obvious, off the shelf solution.

Both Wifi and Bluetooth signal strength are too variable to rely on owing to the differing signal patterns from device to device and the effect competing signals have on signal strength.

Traditional ultrasonic distance sensors also would not be suitable. If you’ve ever had a bat’s echolocation explained to you, this is the same stuff. Usually, one ultrasonic device sending out a pulse measures the length of time it takes for it’s own echo, which has bounced off the nearest object, to return.

This solution does not suit us because we only want garment A to light up in response to garment B, not in response to an approaching wall!

Our solution, proposed by Dave Hunt, is to use traditional ultrasonic distance sensors in a non traditional manner. We will be using 2 devices, one on each garment.

The way this will work is when the first device sends out a pulse, it will stop listening for replies for a defined amount of time, T. When the second device hears this sound, it will wait for the same amount of time, T, before sending a response. The first device will pick this response up and be able to calculate the distance based on the amount of time it took for the “round trip” of signals to happen.

The use of delays in this solution is required in order to ignore the initial echo effect upon which the usual operation of these ultrasonic devices depends on.

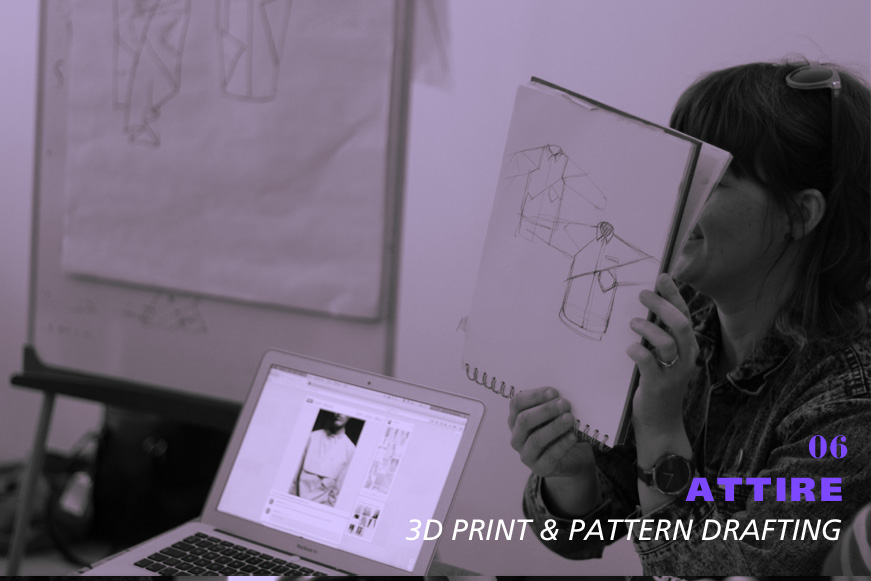
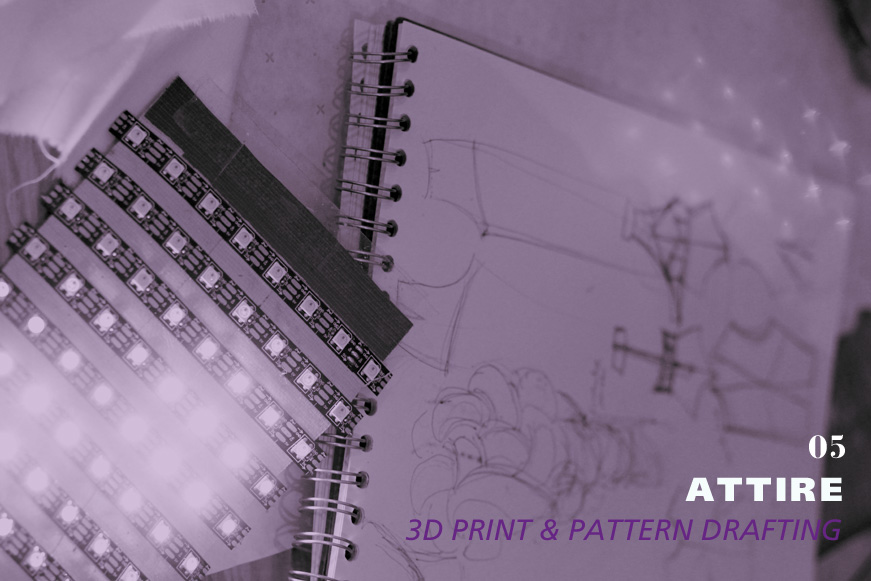
 Fashion Research Summary from Workshop 06:

The fashion group had these two main issues to address and try to come up with suitable solutions

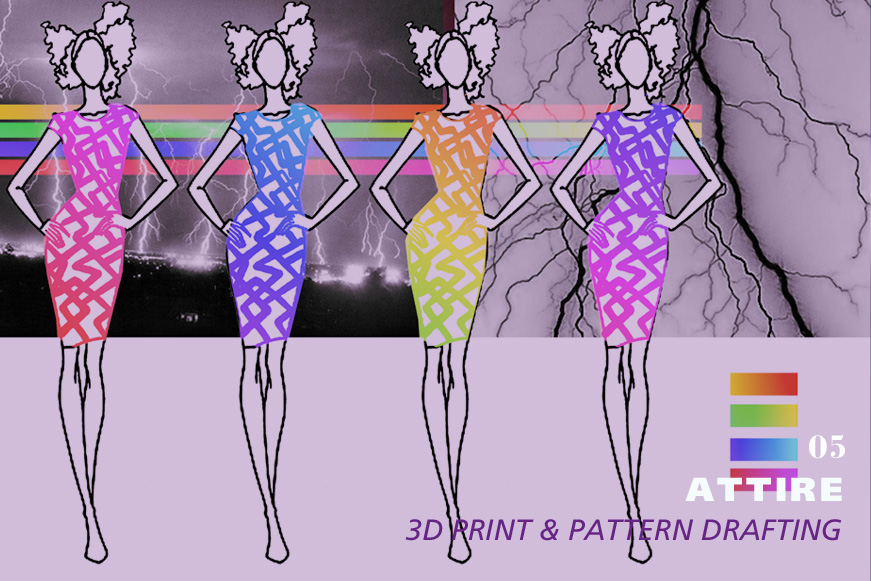
  • Incorporate grid LEDs display for complex animation into the tigh fit dress without loosing the integrity of random LEDs strip pattern
  • Design the innovative and contemporary menswear outfit that would be directly synchronized with the dress
Why is the random placement of  LEDs strip important?

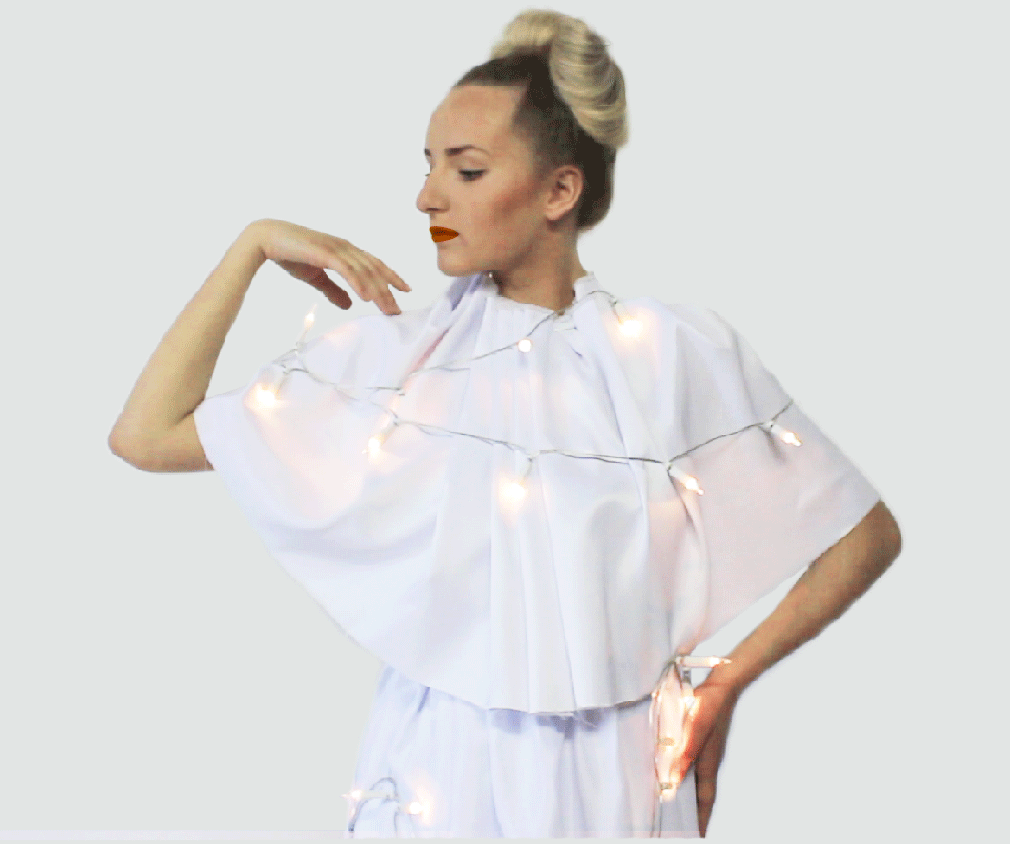
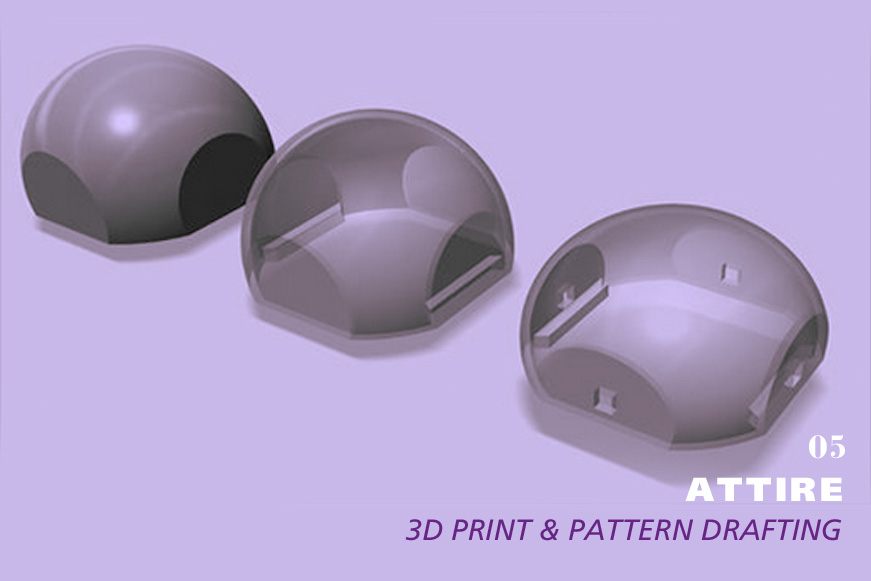
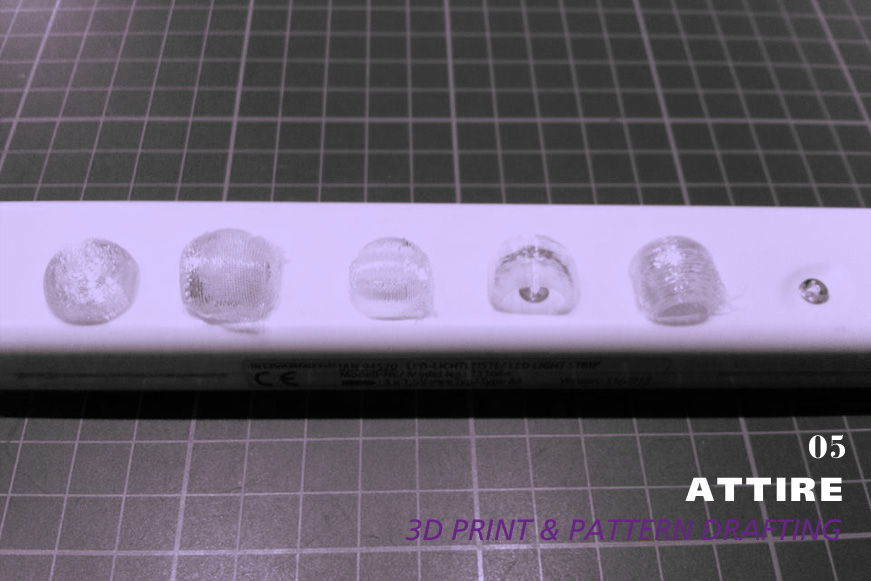
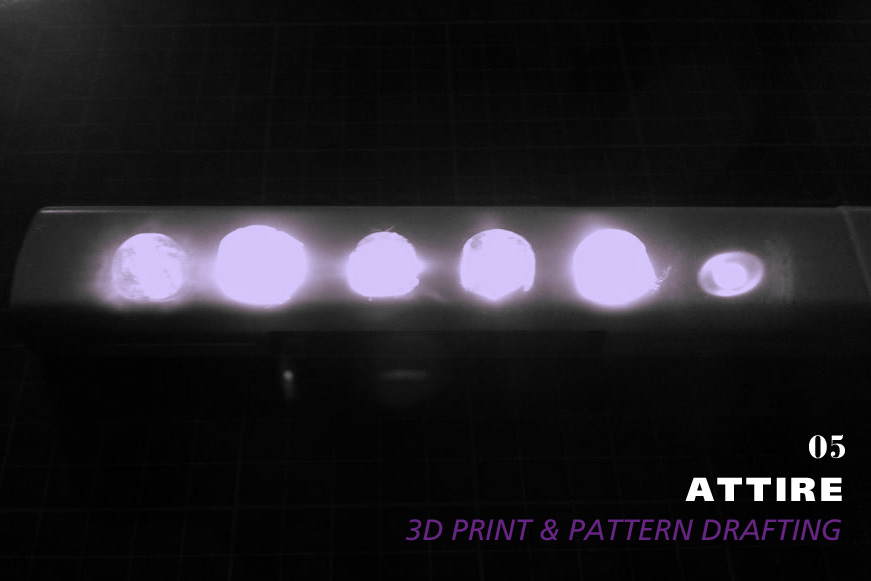
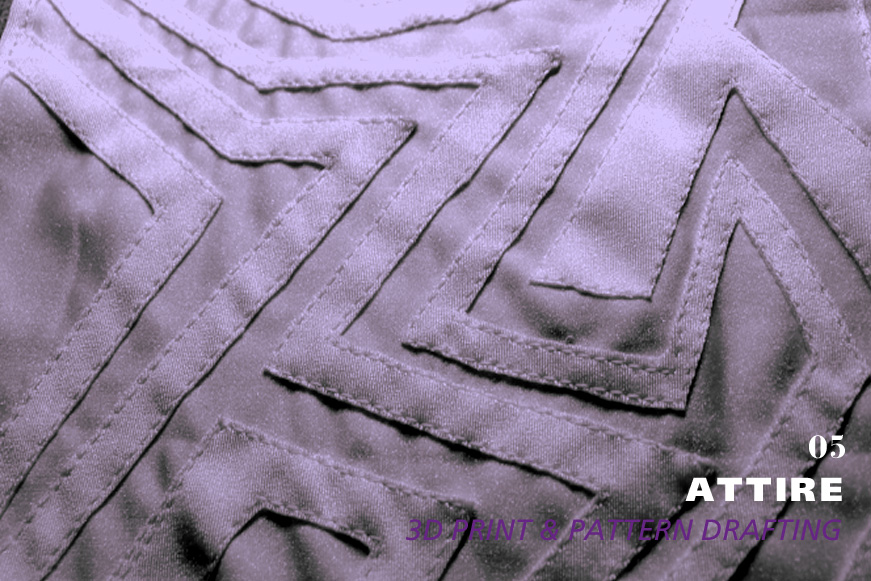
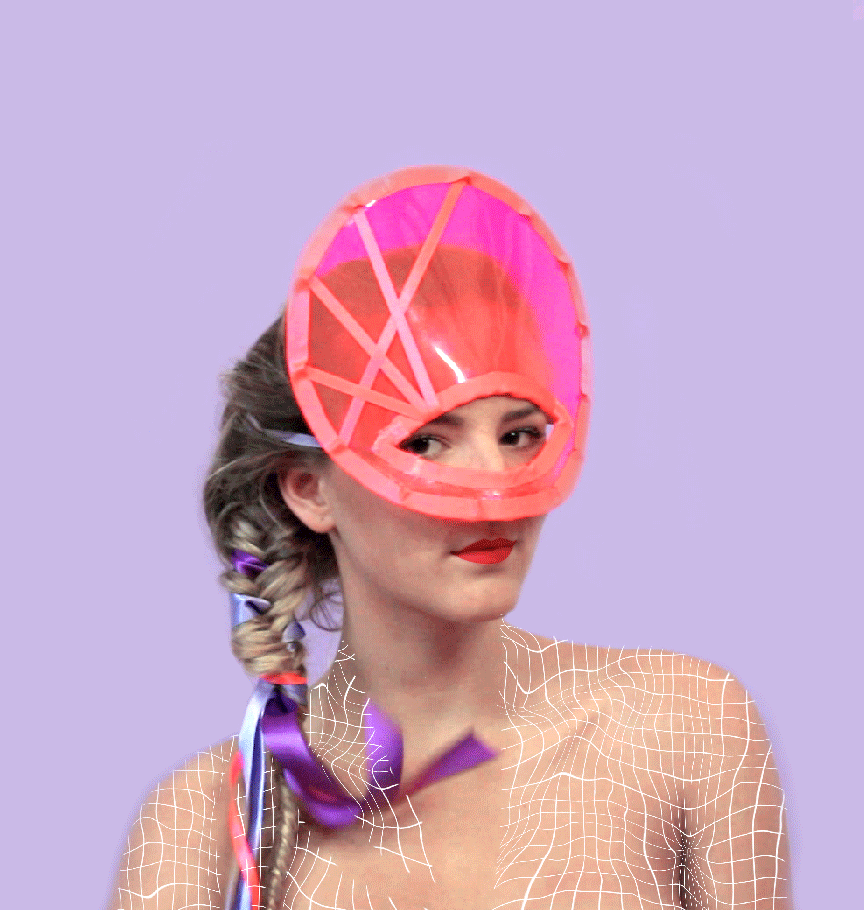
Textile manipulation that we are going to use based on the swatch Lucia made to ‘hide’ the LEDs in the dress is sustainable and interesting. It uses the LEDs strip placement to create a 3D lifted pattern/texture around the dress. This results in displaying rather than hiding the LEDs even if the lights are off. It is one of the reason why we want to keep the visual integrity of random placement.  Another reason is to use the LEDs in a more innovative and unpredictable way rather than a square screen. Random routes of the LEDs strips are also essential to show effectively the ‘traveling light’ animation when the dress is touched /activated.

Why is the grid placement of LEDs is important.

To achieve the maximum from the animation we need to have the LEDs placed in the grid. The software that can scan any image and translate it into the animation. This is a crucial feature to allow the dress to animate on a higher level.  Our goal is to achieve the maximum space for the complex animations together with seemingly random patterns.

event 06 PHOTOS1

event 06 PHOTOS4

event 06 PHOTOS2

What to be aware of in relation to the fashion appeal?

The dress is designed to be a tight fit so we need to be clever and inventive about how to achieve it’s fit. We can run into danger if the combination of LEDs with a tight fit and sheer treatment could end up looking like a bodycon of the rack with Christmas lights, rather than hi-fashion wearable tech garment.
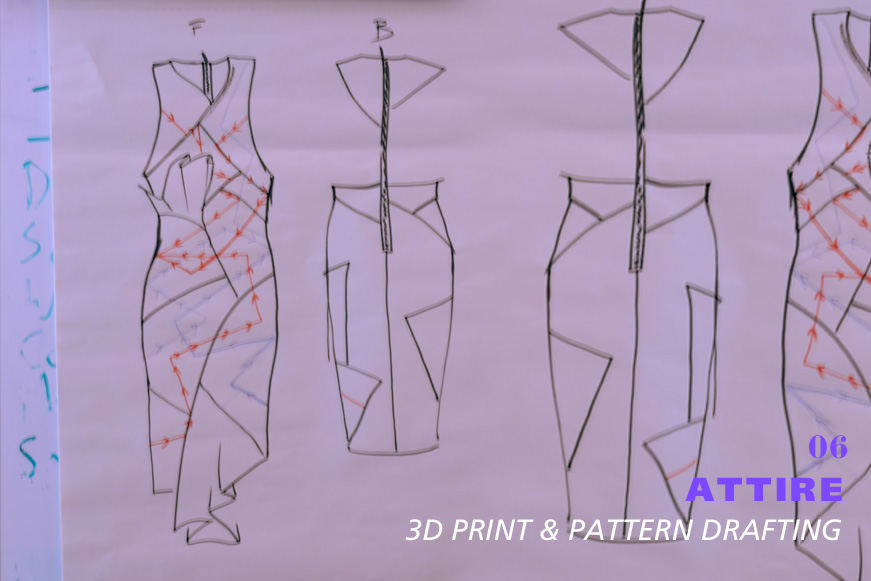
Solution

To combine the tight fit, random LED strips and the square grids of LED’s, we decided to draft the dress pattern into a number of small parts. When put together tight fit will be achieved by cleverly cut seams and darts rather than by a stretch fabric. This will also give us an opportunity to create some of the pattern pieces into grid displays. These pieces will carry out the main animations by keeping the integrity of the grid display.  Dress parts displaying the animation will seemingly connect together by the individual – random LED strips. These will keep the visual appearance of a connection between individual animations.  Also these individual bridges will carry the animation of the light traveling from the dress towards the sensors when touched.

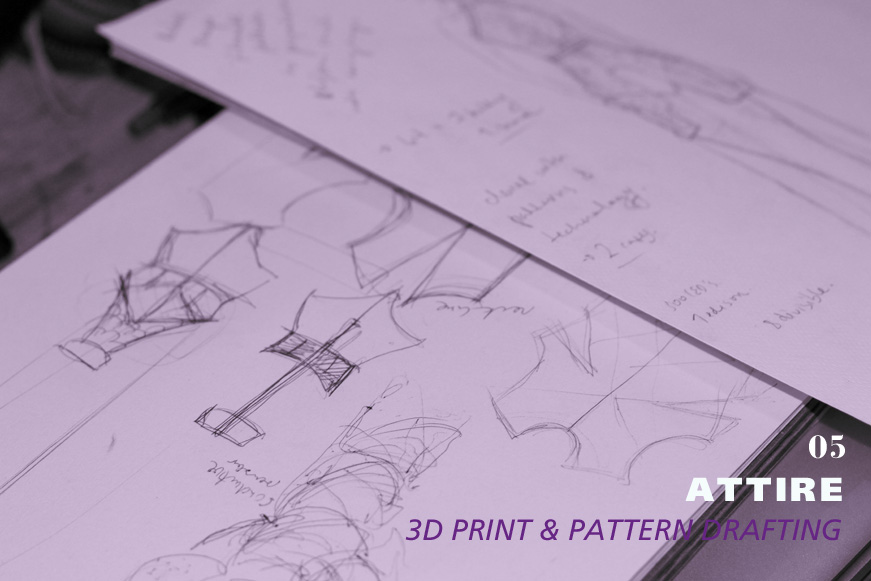
Our next step is to pattern draft the dress form to assure the tight fit and assign the pieces that will carry out the grid animations.

Menswear

Initial design for the menswear is to create a long shirt /dress. These can be worn in combination with the skinnies. The longer shape will highlight the futuristic nature of the design. The LED display will be complimentary to the woman’s dress. When touched at the sensor the ray of light will point towards the sensor. This idea will create the illusion where the ray of light from the men’s shirt travels into the woman’s dress and creates a reaction like a lighting bolt.

event 06 PHOTOS5

event 06 PHOTOS6


EVENT 05

3D PRINT & PATTERN DRAFTING

Last week was very busy and exciting as we hosted two workshops. The couple of hours on Thursday flew by as we had loads of big decisions and calls to make. We worked out an idea of how the garment will function and now is the time to apply it.

PROCESS

ARRAY of LEDs

event 05 PHOTOS4

event 05 PHOTOS3

event 05 PHOTOS5

For the swatching and garment design workshops, we built an array of RGB led consisting of 64 LEDS laid out in a grid of 8 x 8. Each line of LEDS were approx. 20mm apart. This allowed us to place various various materials over the array while an animated pattern was being rendered to see the effect through different materials. The array was powered by a 2500mAh 3.7v Lithium Polymer battery, and driven by a FadeCandy board. The FadeCandy is designed specifically to drive large arrays of RGB LEDs, and renders the colours in a much more pleasing way than other micro controllers. For the workshops, we were driving the patterns using a laptop, using demo FadeCandy software but the plan is to replace the laptop with Intel Edisons (running custom software) for mounting into the garment, as they are far smaller, and very suitable for wearable projects.

Dave showed us some very interesting examples of how to run images or patters through it.  It would be a very effective and straightforward solution to accommodate the LED display.  Mariel made a set of colorful rorschach images that she wanted to display on the garment and this prototype was a perfect example of how easily they could be projected on a garment.

 3D PRINTED DIFFUSERS

event 05 PHOTOS10

event 05 PHOTOS8

event 05 PHOTOS9

Previous week Ivor introduced us to the essentials of the 3D printing. He printed out number of various little hollow domes that diffuse the light from the LEDs. 123D Design was used to draw the shapes. http://www.123dapp.com/design
More box like shapes that could be used to protect electronics and batteries were also looked at and test printed. Shetchup can be used to draw such objects… www.sketchup.com
General 3d printing design repositories were also briefly looked at including http://www.youmagine.com www.thingiverse.com
We also played with a neat free utility for converting jpeg images to 3d printable shapes http://3dp.rocks/lithophane/ which might be of value. We aim to incorporate custom made 3D printed light diffusers in various shapes and sizes. These diffusers could replace the traditional embellishment.

We tried out various textile materials and swatches made earlier as diffusers and got some very interesting results and effects. This exercise was decisive in picking out the materials and textile manipulation techniques that are effective and suitable for showing the LEDs the way we want. At the moment the biggest challenge for us is to make a garment that is clever and innovative due to the use of technology but at the same time trendy and desirable for teens on a fashion plate!

TEXTILE SWATCH

event 05 PHOTOS12

event 05 PHOTOS11

event 05 PHOTOS6

event 05 PHOTOS7

Lucia introduced her initial design of the garment. She created a textile swatch that incorporated the LED strips into the fabric in a clean and interesting manner.  This way the garment will look complex and unique even if the lights are off.  Her dress design was influenced by the direct electronic concept.  The intensity of  LED display changes depending on the distance between the two outfits (the closer the brighter) and animates by touch. Sensors will be placed on shoulders, waist & hips. The animation will work like a plasma bulb, once touched at the certain sensor the light will travel to that sensor in two hues of color from all around the dress.  Each sensor changes the route how lights travel and uses different hues. After the ‘lighting’ animation the dress will light randomly – with hues of two colors animation assigned to the sensor that was touched last, until touched again.

To make this work we need to figure the electronics that enable outfits to react only to each other and to measure the distance between them.

At the moment the routes of LED strip on the dress are in a random criss – cross, zig – zag pattern.  This is a very specific way of display that is visually pleasing but the number of animations that could be displayed is limited as they only can be displayed in a single strips. The textile solution of attaching the LEDs to fabric is very interesting and it is something that we are going to use however we need to revisit the placement of LEDs on the dress. To show various animations the LED would have to be placed in a square grid. This is a obvious use of LEDs as a screen of sort and it is different to the final effect we want to achieve. The current placement is not very feasible because the LEDs are incorporated in a labor intensive rather than effective manner. We have to come up with a compromise solution that accommodates the function and elevates the design.

After a short discussion we decided to create a short jumpsuit and Miia started pattern drafting.

event 05 PHOTOS2

event 05 PHOTOS1

event 05 PHOTOS

For the next session we still have to finalize the menswear part of the outfit and re-evaluate and redesign the dress. We discussed the idea of designing an oversize transparent multi- textured jacked – to go over the dress. This solution would maximize the textile part of the workshop and it would serve as an additional light diffuser that can bring our outfit to the next level.