 Since I got myself some new table-saw blades, along with the capability to cut acrylic/perspex, I thought I’d have a go at manufacturing a new, neater version of the tri-flash I designed last year. This one was going to be much smaller, and require less setup time.
The result is as follows:
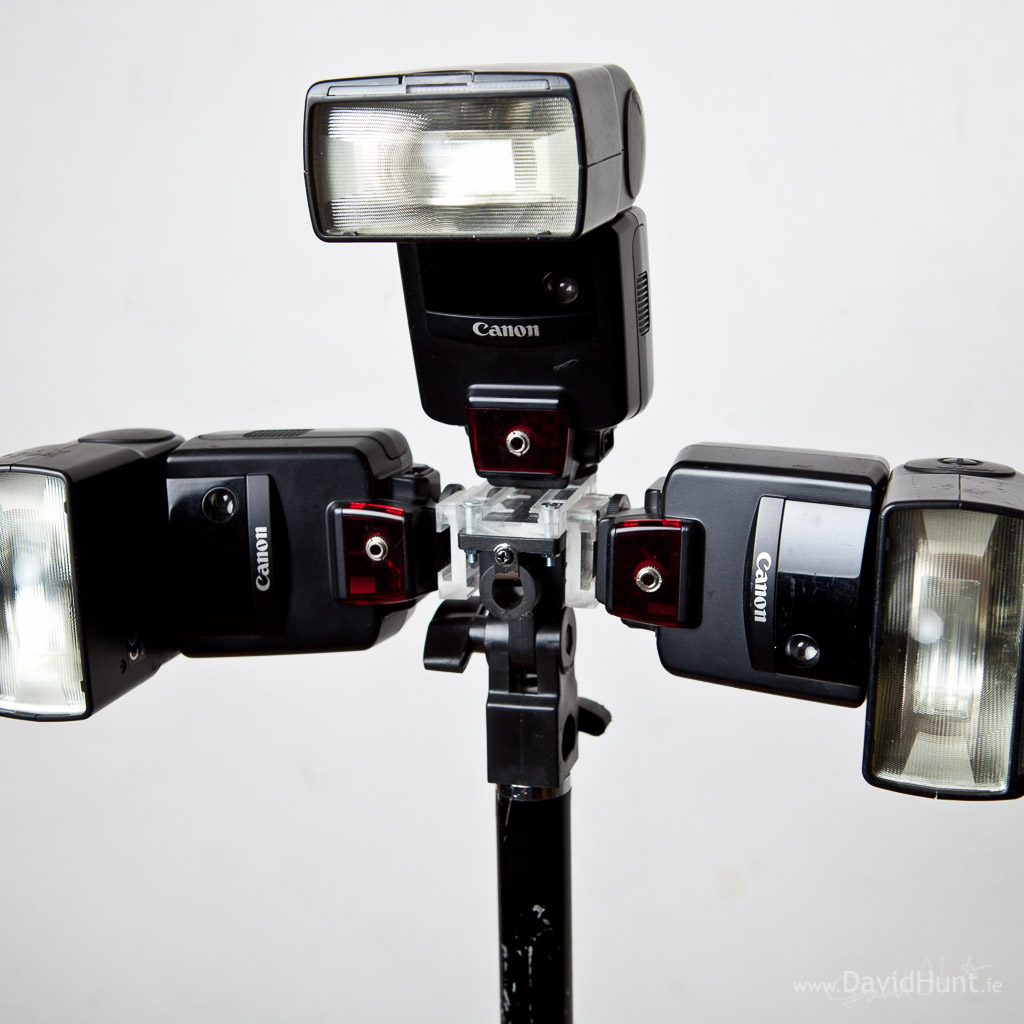
The nice thing about this design, is that it distributes the strobes quite evenly around the centre point, so that when an umbrella is inserted (that’s what the hole in the middle is for), it illuminates it nicely.
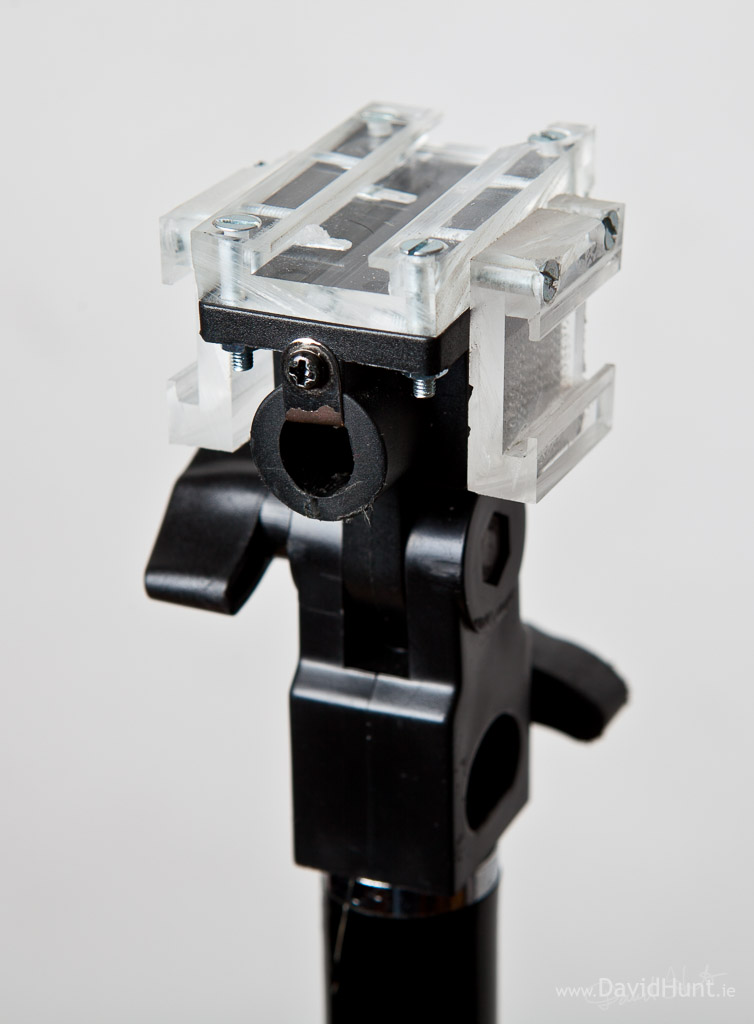
Here’s a closer look:
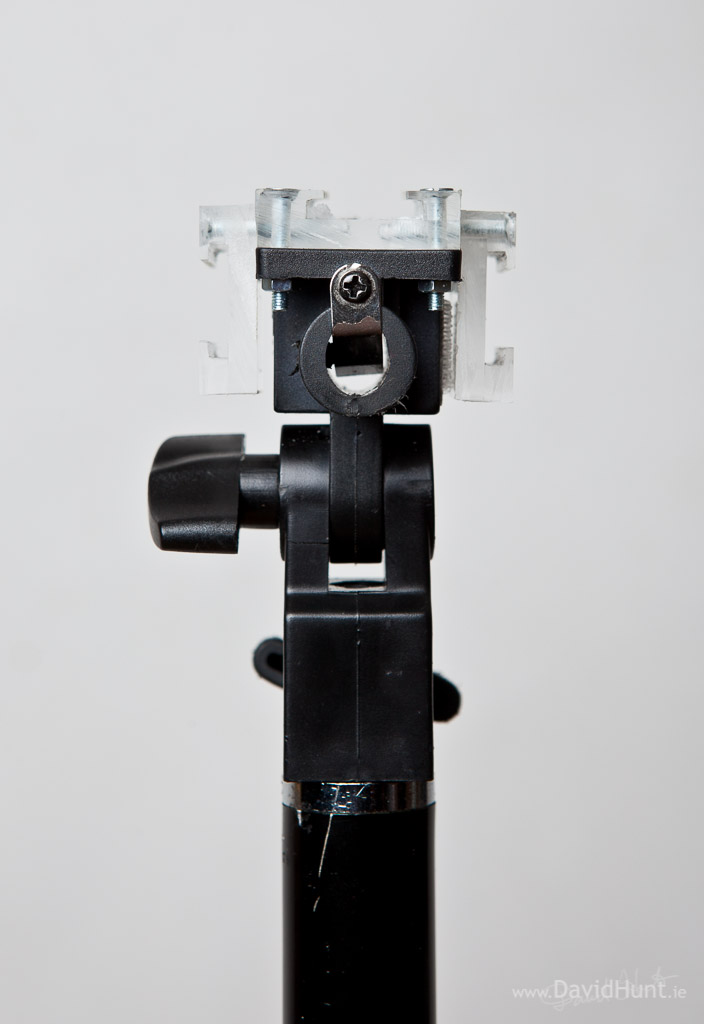
And a front view:
In order to make the acrylic pieces, I cut a length of acrylic, and made a notch in it. Then I used cyano-acrylate (super glue) to glue the notched piece onto another flat piece of acrylic. The bond of the cyano-acrylate seems to be very strong, very good for acrylic. Maybe the hint is in the “acrylate” 🙂
Anyway, I ended up with an 8-inch lenght of hotshoe-holder, which could then be cut it to length to make several hotshoe holders, and I could bolt them onto the brolly holder at various angles, as can be seen in the second image above.
As for the setup time – with the previous design, I had to set up 3 brolly adapters on the “cross”, then attach three strobes. Now it’s pop the modifued brolly adapter onto the stand, and then the three strobes. About half the setup time. And it’s neater, and I think much cooler looking with the transparent acrylic 🙂
The three strobes in the top image are triggered by a single trigger using a 4-way cable. You can see the DIY sync ports in the muddle of the red window, as the IR modules have been removed.
One thought on “Tri-Flash Re-design”
Comments are closed.