 This is a brief article about some behind-the-scenes stuff while I was making my latest time-lapse video, “Loop Head Peninsula”. There’s pictures of the time lapse rig in action, as well as a few words on the techniques I used, what I learned, etc.
Here’s the video:
[embedplusvideo height=”365″ width=”600″ editlink=”http://bit.ly/176UITG” standard=”http://www.youtube.com/v/KgZej3mBd0s?fs=1″ vars=”ytid=KgZej3mBd0s&width=600&height=365&start=&stop=&rs=w&hd=0&autoplay=0&react=1&chapters=¬es=” id=”ep4545″ /]
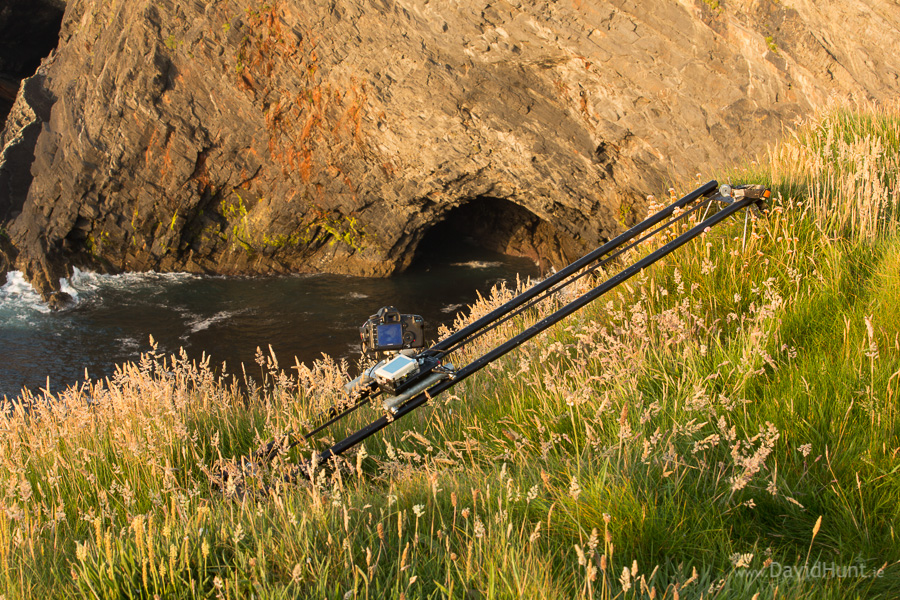
The first image shows one of the more straightforward shots, with the rail placed on an incline. The motor I have in the dolly is enough to pull it up the rail at up to 30 degrees. Any more and the motor will start going the other direction when the motor is disabled between pulses.
When one camera is running, I’ll either set up another time-lapse on the tripod, or maybe just go take some regular pictures in the area. I always keep within a reasonable distance of the rail, just in case somebody happens to find it an thinks it’s unattended. The last thing I’d want is to come back and find the whole setup gone! 🙂
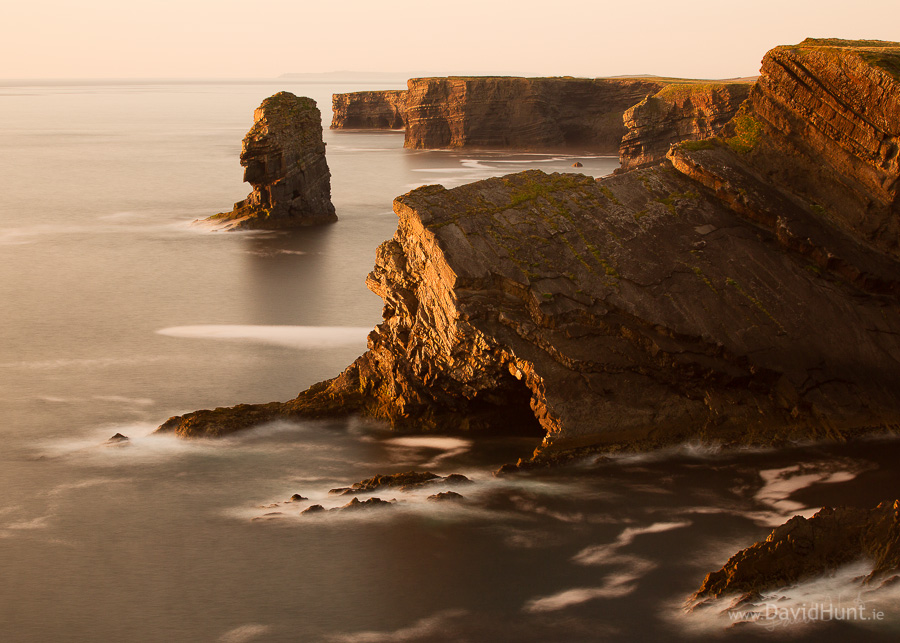
Here’s an image I took during the above time lapse sequence.
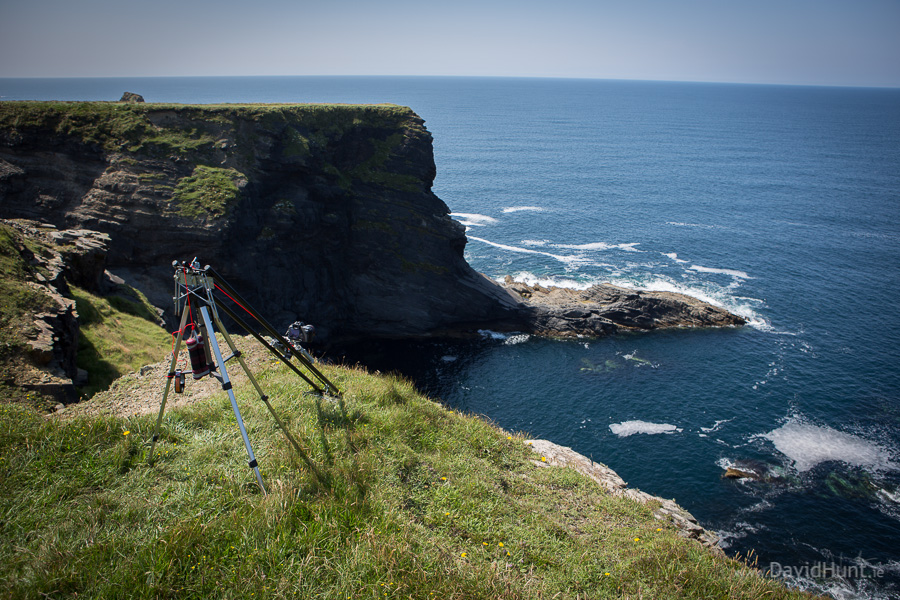
For sequences with a steeper angle, I use a weighted pulley system.
This allows the motor to freely move up or down the rail at steep angles with very little power required from the motor. The head of the tripod is modified with a cross-bar to allow the rail to sit comfortably on it, and it’s also very stable, so no wobble during shots.
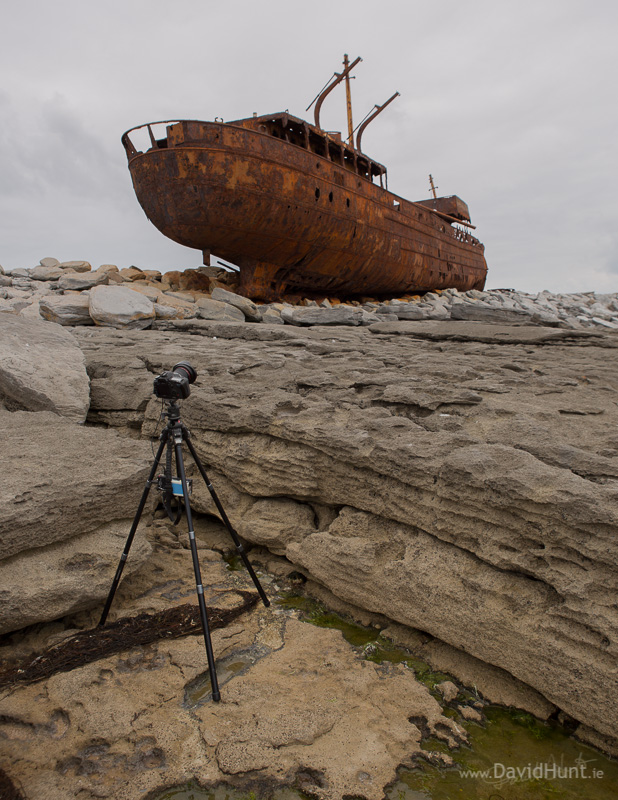
Sometimes I don’t have the luxury of bring my rail with me, as it’s long, heavy, and awkward. So, in this case, where I had a quick 2-hour visit to one of the Aran Islands, I made do with a tripod setup. I still used the Raspberry Pi, as I wanted to do a HDR sequence. It’s not possible to do this using a closed shutter release cable, as the continuous shooting will stop after one HDR sequence is complete, you can’t tell it to keep going. So the Raspberry Pi controller will press the shutter for the 3 shots, release it then press it again. In post processing I’ll add vertical movement.
And finally on to some night time shots. These are infinitely more difficult than daytime shots. In the two weeks vacation I had 4 or 5 nights that the sky was clear at 11pm, even though we were in the middle of a heatwave. Of those 5 nights, I went out 4. The first night there was fog, even though the sky stayed reasonably clear, I forgot my dew heater, and the lens fogged up badly after an hour. Two more nights fogged in so badly I could barely even see 50 feet. And one night remained clear, and I was witness to a glorious meteor shower. But I was still glad I brought my dew heater (a device that warms up the lens to keep condensation away), as there felt like there was plenty of moisture in the air, and certainly on the grass.
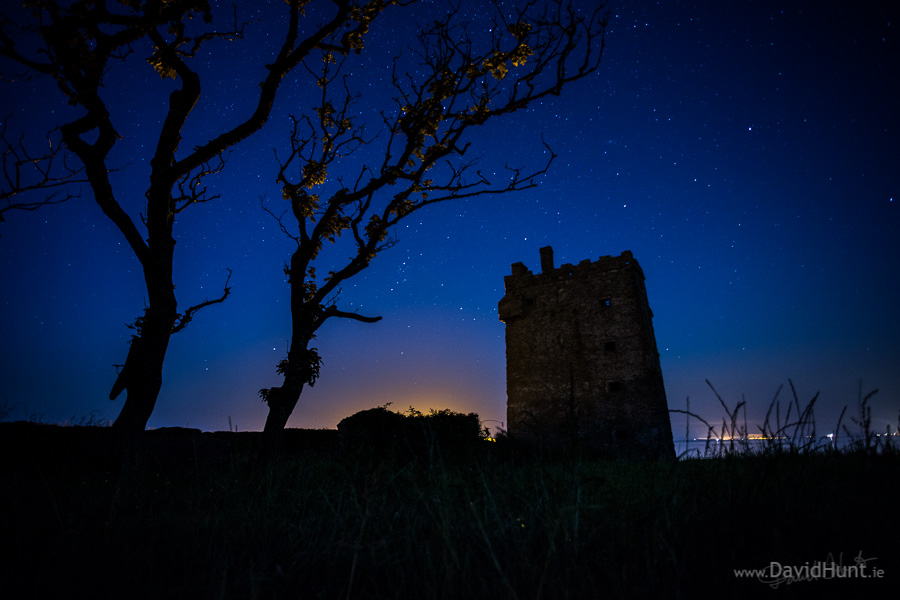
Here’s an example of what happens when the weather doesn’t play ball. Carrigaholt Castle at about 1am:
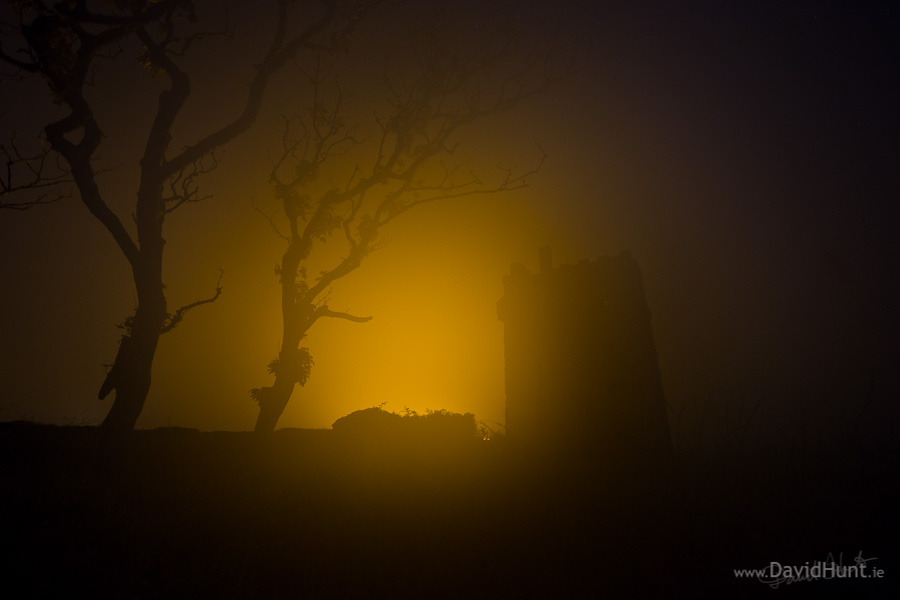
And the same location about an hour later. Depressing.
During my vacation, I picked up a pop-up tent. One of those instant up, and painfully-difficult-to-get-down ones. Well, I practised the folding phase, and got that down to under a minute with practice before I went out for a shoot. I’d hate to have to have to fold up one of those things for the first time in a dark field in heavy fog…
One of these is very handy when you want to grab a few hours sleep while the time lapse is running. Later on in the year, when we get more than 2-3 hours of proper darkness, I might use it more, but the likelihood that it will be warm enough to stay out in a tent is small. Still one has to suffer for one’s art, no? 🙂
