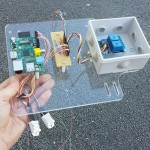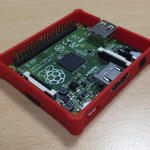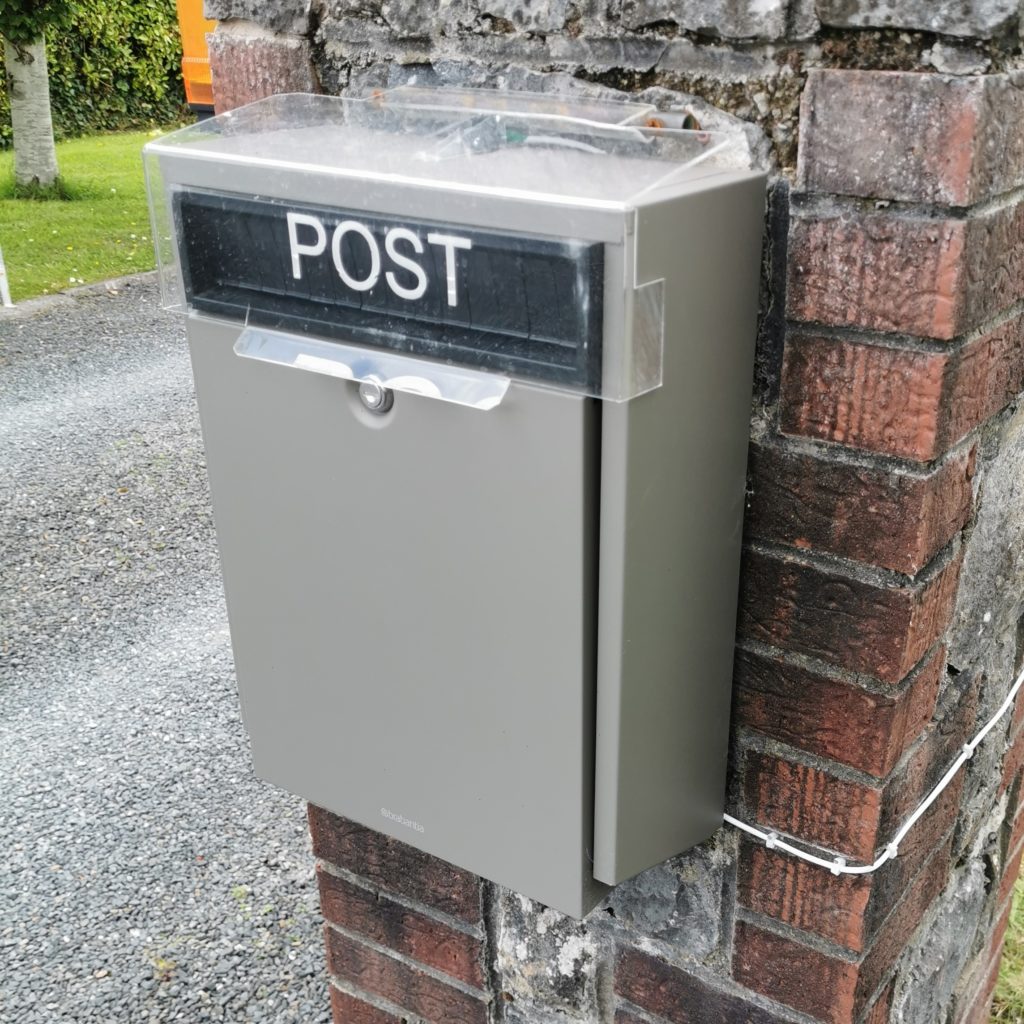
Ever since I put a mailbox out on my front gate, I have to check it manually to see if the postman has delivered any mail. That involves getting out of my car on the way in or out, or (ugh) walking all the way out to the post box! So, I’ve now installed a Raspberry Pi by the post box to send a text whenever something is put in the post box!
Continue reading “Mail-Pi – Raspberry Pi Post Box SMS Notifier”Category: Tutorial
AlarmPi – Raspberry Pi Security Alarm Pt.2
Over a year ago I did an article about a DIY alarm system I’d build based on Raspberry Pi’s. I’ve recently done an update, and this time I’ve cleaned up the code and released it onto GitHub. It’s based on Node-Red and Python.
Continue reading “AlarmPi – Raspberry Pi Security Alarm Pt.2”Car Audio System Upgrade – Part 3
I didn’t think there’d be another car audio post so soon, but about 8KG of noise reduction matting arrived in the post, so I though I’d give it a go. This is not something that is directly related to the sound system in the car, but more to do with reducing road noise so the music can be heard more clearly whilst driving. Continue reading “Car Audio System Upgrade – Part 3”
Car Audio System Upgrade – Part 2
Here’s Part Two in a series of articles where I upgrade my car’s audio system. See previous article here. This time we’re going to take a look at upgrading the 165mm speakers in the four doors, and adding bass blockers to the 89mm speakers added in the last article. Continue reading “Car Audio System Upgrade – Part 2”
Car Audio System Upgrade – Part 1
I got a new (to me) car and, while I love it, the sound system is pretty crap. So I decided to investigate what could be done to improve it. Research showed me that the Mazda 6 has two options when it comes to the default sound system, one is a standard 4-speaker setup, and the other is an 11-speaker Bose sound sytem. Continue reading “Car Audio System Upgrade – Part 1”
Get your IOT Project onto the Cellular Network for ~$10
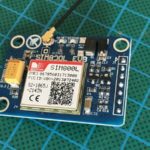
I’ve been toying a lot recently with LoRaWAN networking, even going so far as to build a full gateway and mounting it on my house. As an alternative, I ordered some GSM shields from AliExpress which connect into your existing GSM providers network. It saves building a gateway, although the running costs will probably be higher.
Continue reading “Get your IOT Project onto the Cellular Network for ~$10”
LoRaWAN Gateway Build with Raspberry Pi
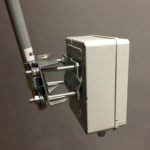
A few months back I built a full LoRaWAN gateway node for The Things network, and now I’m finally getting around to writing it up. I’d recommend this project to anyone interested in IOT, as it’s very edudational, and you’ll be helping expand the LoRaWAN network coverage in your area. In this build, I use a Raspberry Pi, a RAK831 8-channel gateway and an adapter board (also from RAK) that allows the RAK board to be mounted easily on the Pi.
Encrypted 433MHz links using RFM69’s
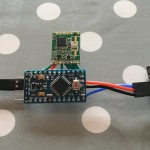
I recently had the need to have a doorbell at the entrance to my property, having recently put in automated gates. I could have run a cable, but I wanted to try out some new 433 MHz transceivers I recently purchased. The entrance would have a push-button switch and the house would have a receiver accepting packets from the entrance. Once it got a packet, it would trigger a relay to ring the doorbell. The doorbell was an old model, driven by 12V AC, so I thought a relay would be the handiest way to triggger it’s chime. Also, attached to the internal Arduino would be the old doorbell, connected to a gpio input which could also trigger the relay, activating the doorbell. Two methods to chime the same doorbell.
Damp-Pi – Room Moisture Extraction with Raspberry Pi
Over the last while I’ve been having a problem with excess humidity in the shower rooms. Imagine that, the builder never put in extractor fans when the house was built! Anyway, I could put in those fancy extractor fans with the built in timers or humidity sensors, but I decided to do things the more interesting way, by using a small computer to read the values from a humidity sensor in each room, and based on the readings, turn on the fan until the humidity was reduced to an acceptable level.
Continue reading “Damp-Pi – Room Moisture Extraction with Raspberry Pi”